You can update an internal invoice's status by editing it, marking it as checked, or marking it as paid.
You can also preview and print outgoing invoice documents, including contract invoices, rental invoices, and stipulations, if report definition templates have been uploaded for the appropriate report data source.
Edit an Invoice
The invoice fields you can change when you edit an invoice vary depending on the status of the invoice.
Symbol |
Status |
Invoice Type |
Description |
|---|---|---|---|
|
Unchecked |
Incoming |
Your organization has received the invoice, but it has not been checked. When editing the invoice, you can edit all fields in the invoice details except for its Type. The invoice can be checked. |
|
Not printed |
Outgoing |
The invoice has been issued but has not been printed. When editing the invoice, you can edit all fields in the invoice details except for its Type. The invoice can be printed. |
|
Checked, but not paid |
Incoming |
The invoice has been verified by your organization. Most of the fields in the invoice form are locked for editing. When editing the invoice, you can edit the VAT [%], Tax key, Discount days / %, Payment due date [days], and Organization fields. You can mark the invoice as Paid, or undo its Checked status to revert the invoice's status to Not Printed. |
|
Printed, but not paid |
Outgoing |
The invoice has been printed. for sending to the customer. Printing an invoice refers to the action of downloading the document locally and marking it as printed in the VertiGIS FM system. It does not require the invoice to have been physically printed. |
|
|
|
|
|
Paid |
All |
The invoice has been paid. |

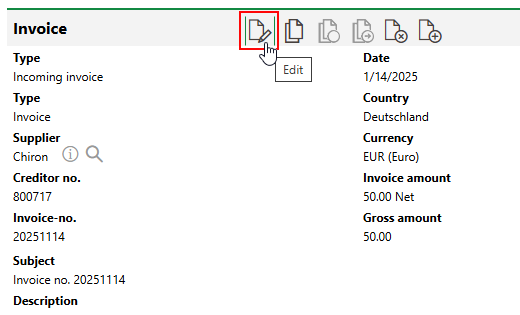
To Edit an Invoice
1.Open the invoice in either of two places:
▪On the Costs and Budget search page, under Objects, click Invoices. In the search grid, double-click the invoice you want to edit.
▪On the details page for the data object associated with the invoice (the data object selected in the Object menu in the Assignment section of the invoice details), double-click the invoice you want to edit.
2.Click the Edit (![]() ) icon.
) icon.
3.Edit the invoice details as required. The editable details vary depending on the invoice status. Refer to Invoice Details for an outline of all fields in the form.
4.Click Save or Save and Close.
Update an Invoice's Status
How you update an invoice's status depends on the invoice's current status and whether it is an incoming invoice or an outgoing invoice.
Check an Invoice (Incoming Invoices and Internal Company Billing)
A checked invoice has been received and verified by your organization. Checked invoices affect the budget set for the account, cost center, or project associated with the invoice.
You can check an incoming invoice whose status is Not Checked ( ) when you edit it. To update the invoice's status to Checked (
 ), simply select the Checked check box.

Marking an Invoice as Checked
When you click Save or Save and Close, the invoice's status updates to Checked (). VertiGIS FM documents the time the invoice was marked as Checked and the user who performed the action.
Check Box Selected
Print an Invoice (Outgoing Invoices)
You can print an outgoing invoice whose status is Not Printed () to update its status to Printed (). When the invoice's status is Printed (), it can be sent to the customer for payment. This action does not necessarily involve physically printing the document.
Report Definition
To print an outgoing invoice, a report definition must exist for the Outgoing Invoice data source.

Outgoing Invoice Report Definitions
You can upload a new template on the Outgoing Invoice data source page by clicking the Add (![]() ) icon in the Report Definitions section. Any of the templates in the Report Definitions section whose format is Report (PDF) can be selected when you print an outgoing invoice.
) icon in the Report Definitions section. Any of the templates in the Report Definitions section whose format is Report (PDF) can be selected when you print an outgoing invoice.
You can access the Outgoing Invoice data source by clicking Reports > Report Definition > Costs and Budget > Outgoing Invoice.
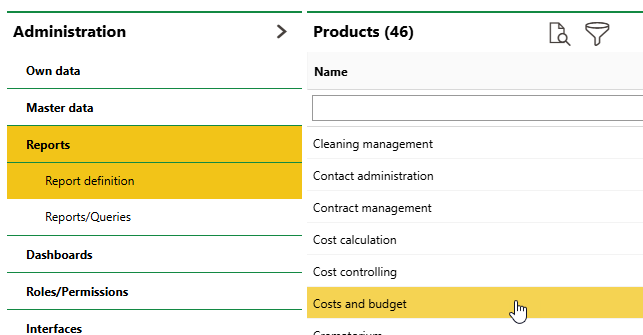
Costs and Budget Report Definitions
Refer to Report Definitions for more information.
Preview an Outgoing Invoice
You can preview a PDF of an outgoing invoice whose status is Not Printed () before marking the invoice as a paid. The PDF for the invoice preview includes a watermark that indicates that it is a preview.
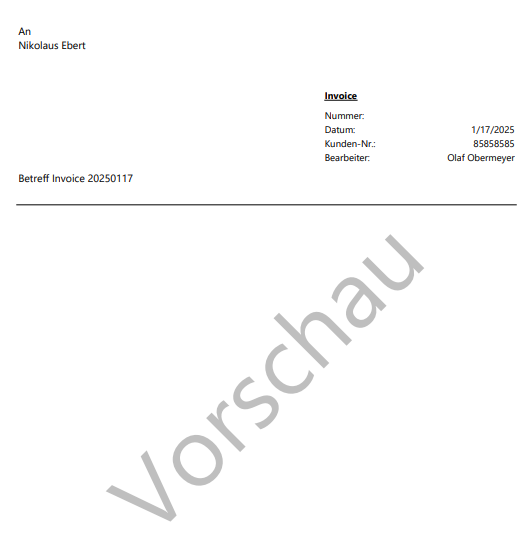
Invoice Preview
This procedure does not change the status of the invoice.
To Preview an Outgoing Invoice
1.Locate the invoice you want to print either of two ways:
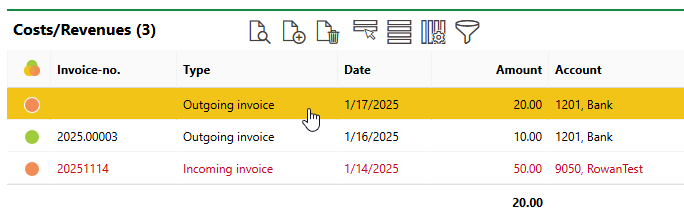
▪Navigate to the details page for the data object associated with the invoice you want to preview. Expand the Costs/Revenues section and double-click the invoice you want to preview.
▪Navigate to the Costs and Budget search page. Under Object, click Invoices. In the search grid, locate the invoice you want to preview and double-click it.
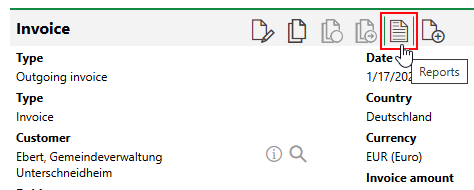
2.Click the Reports (![]() ) icon.
) icon.
3.Select the PDF report definition you want to render the document and click Apply.
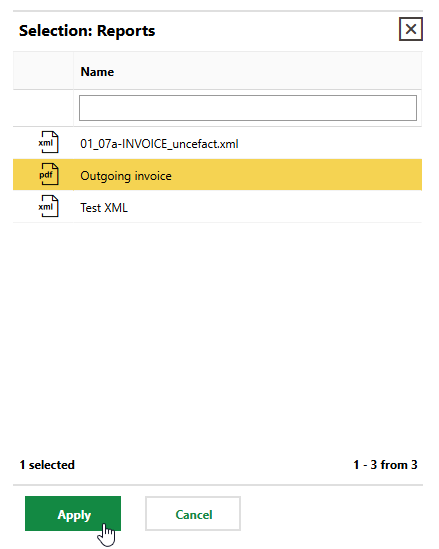
The report definition selection dialog does not appear if there is only one report definition available for selection.
4.In the Invoice Print dialog, click No.
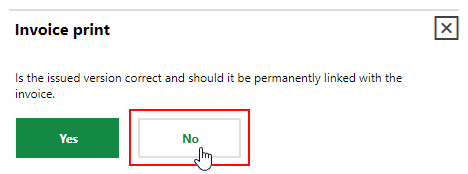
You can now open the file that downloads to your computer.
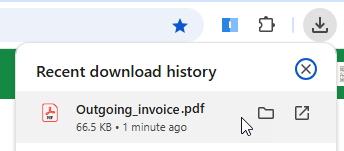
Downloaded Invoice Preview
Print an Outgoing Invoice
If the preview is satisfactory, you can print the outgoing invoice so that it can be sent to the customer or payer. Printing an outgoing invoice updates its status to Printed ().
To Print an Outgoing Invoice
1.Locate the invoice you want to print either of two ways:
▪Navigate to the details page for the data object associated with the invoice you want to print. Expand the Costs/Revenues section and double-click the invoice you want to print.
▪Navigate to the Costs and Budget search page. Under Object, click Invoices. In the search grid, locate the invoice you want to print and double-click it.
2.Click the Reports (![]() ) icon.
) icon.
3.Select the PDF report definition you want to render the document and click Apply.
The report definition selection dialog does not appear if there is only one report definition available for selection.
4.In the Invoice Print dialog, click Yes.
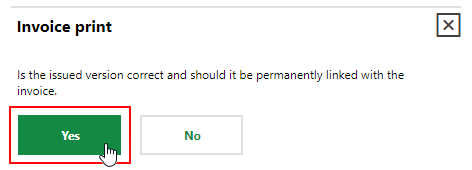
The status changes from Not Printed () to Printed (), and VertiGIS FM assigns the invoice an invoice number in the Invoice-no. column.

Printed Invoice Assigned Invoice Number
XRechnung Export
XRechnung is a type of XML file used for exchanging invoice data digitally. It is the standard format for electronic invoicing in Germany. In VertiGIS FM, you can generate an XML file that conforms to this standard for any outgoing invoice that was created in the Costs and Budget module and whose status is Printed ().
To export invoice data into a file that conforms to the XRechnung standard, click the Export XRechnung (![]() ) icon on the invoice details page, which you can access by double-clicking an invoice on the Costs and Budget search page or in the Costs/Revenues section for the associated data object.
) icon on the invoice details page, which you can access by double-clicking an invoice on the Costs and Budget search page or in the Costs/Revenues section for the associated data object.

Export XRechnung Icon
You can then open the file that downloads to your computer.
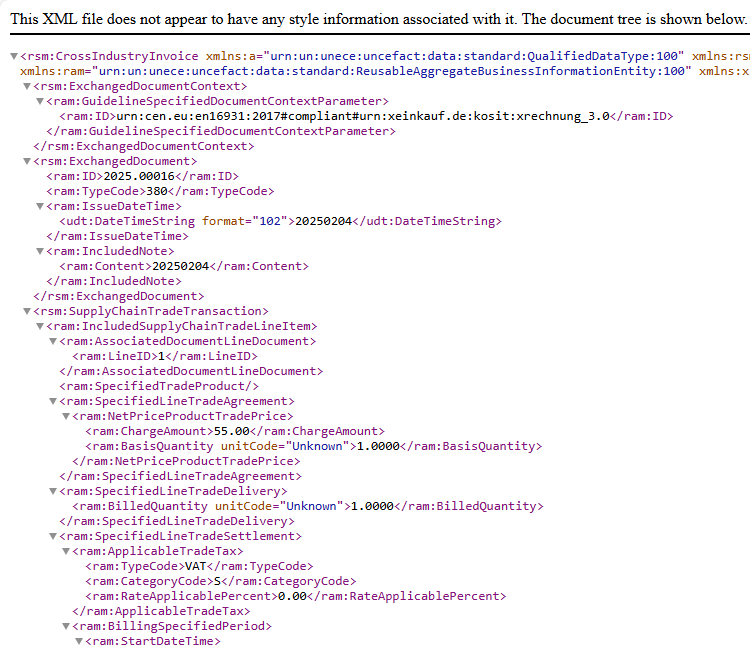
XRechnung File
Cancel an Outgoing Invoice
If you have already printed an invoice but need to make changes to it, you can cancel the invoice and then print the new version. You can only cancel an outgoing invoice in the Printed () state.
You can only cancel an invoice once.
To Cancel an Outgoing Invoice
1.Navigate to the details page for the data object associated with the invoice you want to cancel.
2.Expand the Costs/Revenues section and double-click the invoice you want to cancel.
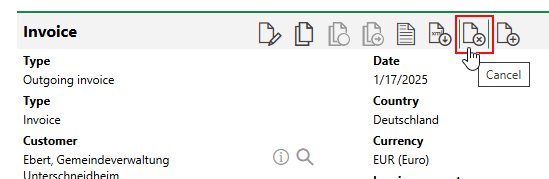
3.Click the Cancel (![]() ) icon.
) icon.
4.Click Save or Save and Close.
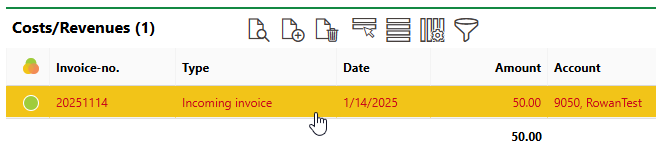
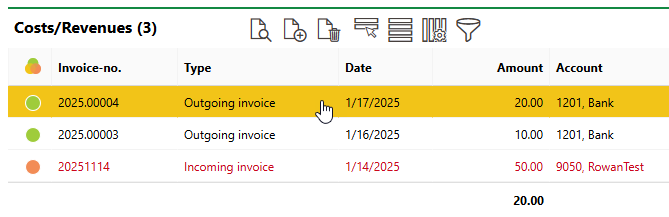
A cancelled invoice now appears in the Costs/Revenues section.

Cancelled Invoice
You can edit this invoice as required and then print another version.
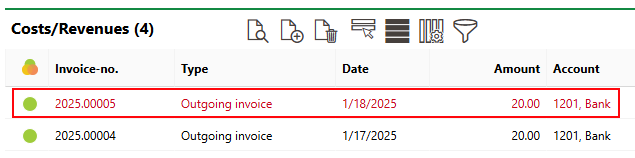
Reprinted Invoice
You cannot cancel the reprinted invoice again.
Mark an Invoice as Paid (Outgoing or Incoming)
When you edit an invoice, you can mark an invoice whose status is Checked () or Printed () as Paid ( ).
).
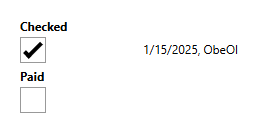
To update an invoice's status, select the Paid check box as when you edit the invoice.

Checked and Paid Check Boxes
If you mark an invoice whose status is Not Checked () as Paid () without first marking it as Checked (), VertiGIS FM programmatically documents the invoice as Checked with the date same date and user that is recorded for the Paid status.
Delete an Invoice
You can delete an invoice from the system outright if its status is Not Checked () or Not Printed (). You cannot delete an invoice that has been checked or printed.
To Delete an Invoice
1.Locate the invoice either of two ways:
▪Navigate to the Costs and Budget search page. Under Objects, click Invoices.
▪Navigate to the details page of the data object associated with the invoice (for example, the device details page). Expand the Costs/Revenues section.
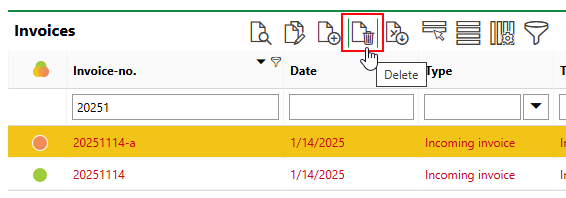
2.Select the unchecked or unprinted invoice you want to delete and click the Delete (![]() ) icon.
) icon.
3.Click OK.