You can use the Plans section on the project details page and order details page to share documents relevant to the project among project team members and other stakeholders. Other users can check, validate, and download uploaded drawings.
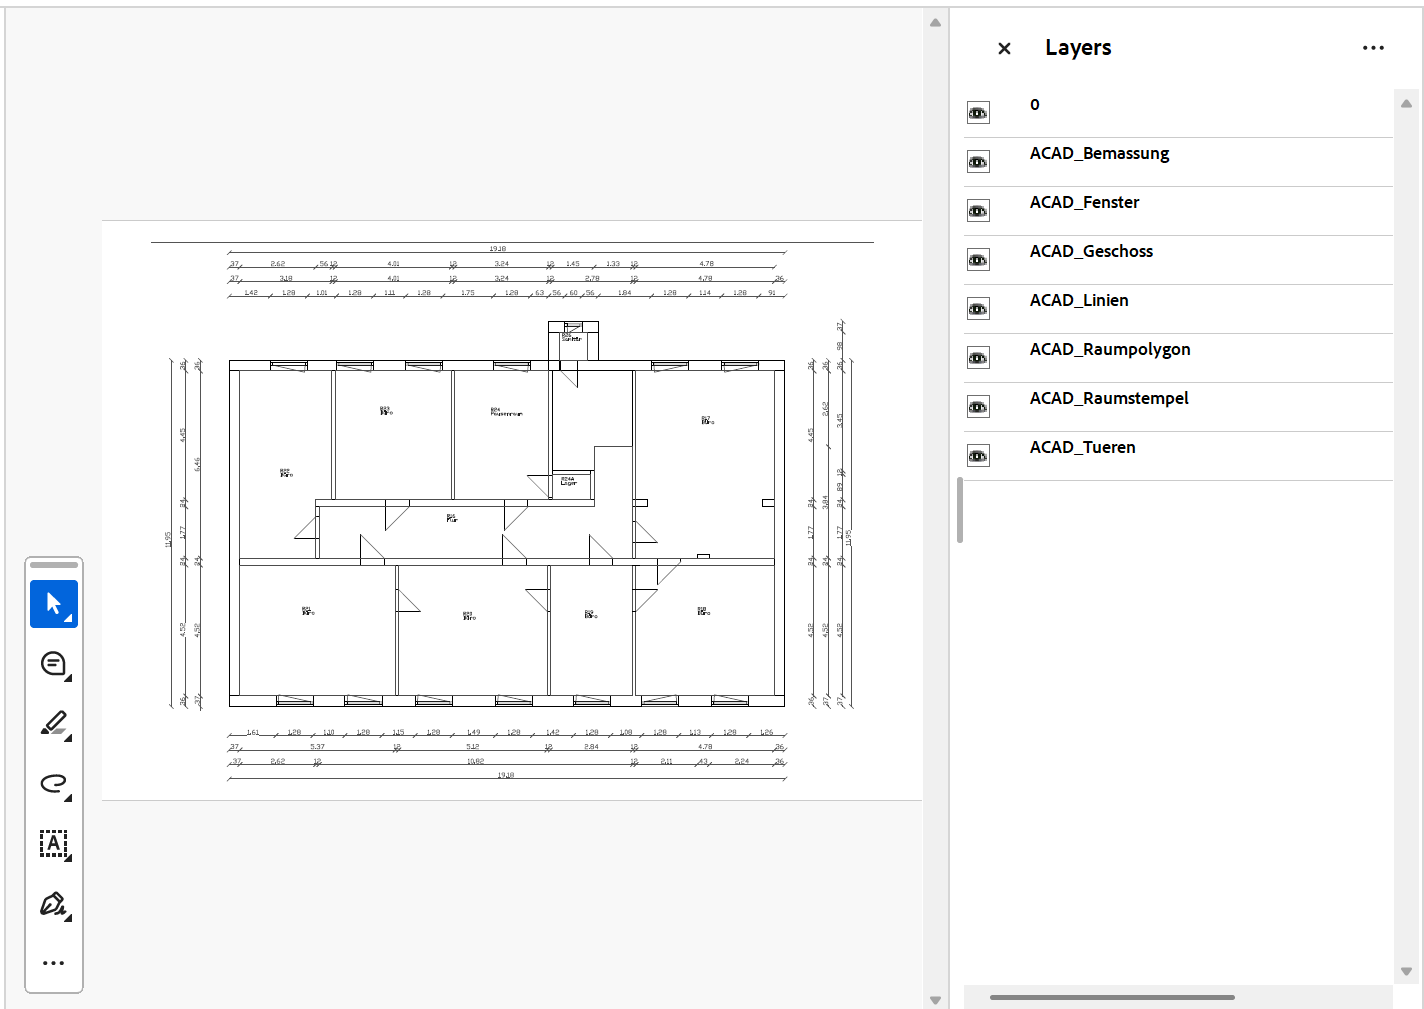
Sample Uploaded Plan Drawing
The document management functionality in the Project Management module does not mirror the CAD management functionality included in VertiGIS FM Buildings. It does not include a floor plan viewer, and uploaded files do not need to adhere to specific guidelines. In the Project Management module, the Plans section is simply used to upload and download documents.
Upload a Plan
You can upload a plan or document drawing in the Plans section on the project's details page or order details page.
To Upload a Plan or Document
1.Navigate to the details page for the project you want to upload a document for.
2.Expand the Plans section and click the Add (![]() ) icon.
) icon.
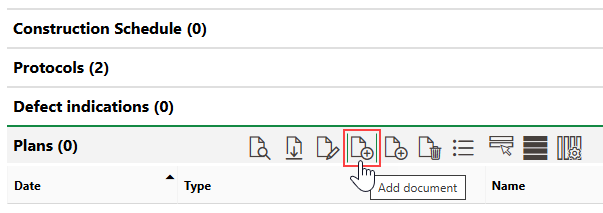
3.Do either of the following:
▪Click Place files for upload here (or click) and double-click the file in Windows Explorer.
▪Drag the file from Windows Explorer into the Place files for upload here (or click) box.
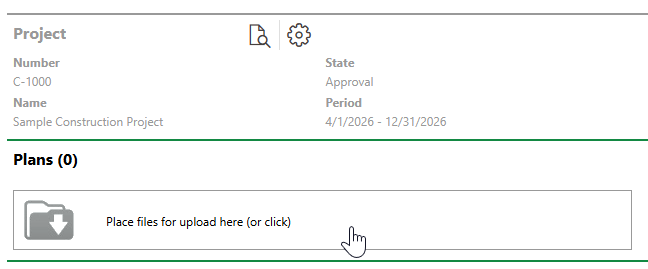
4.Double-click the plan file in Windows Explorer, or select it and click Apply.
5.Enter supporting details for the document in the appropriate form fields. Refer to Plan Details.
6.Click Save or Save and Close.
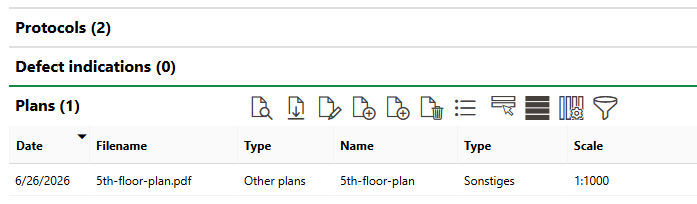
The document is now available for download in the Plans section on the project's details page, and in the Plans for Release section on the Project Management legacy dashboard.
Uploaded Plan Drawing
Download Plans
All users with sufficient permissions can download copies of an uploaded document locally by selecting it and clicking the Open Document (![]() ) icon in the Plans section on the project's details page or on the Plans for Release section on the Project Management legacy dashboard.
) icon in the Plans section on the project's details page or on the Plans for Release section on the Project Management legacy dashboard.

Plans Section
Alternatively, you can double-click the file to download it.
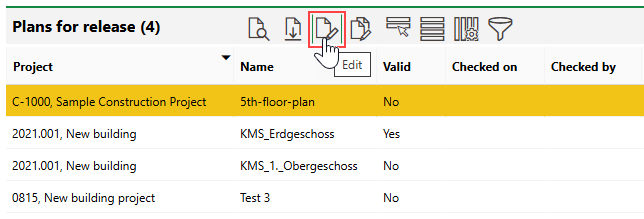
Review and Approve Plans
Uploaded documents have three states: unchecked, approved, and checked. A checked document has been acknowledged by another party, and approved means it has been validated.
To Review or Approve a Plan
1.Navigate to the Project Management legacy dashboard.
2.Expand the Plans for Release section.
3.Select the document you want to check or approve and click the Edit (![]() ) icon.
) icon.
4.Select the check bo(xes) to indicate the state of the document:
▪select the Valid check box if the document has been validated.
▪select the Checked check box if the document has been validated and approved.
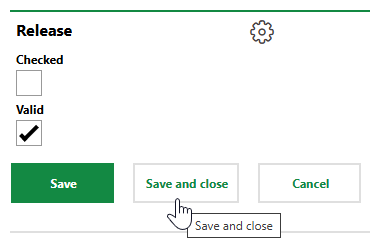
5.Click Save or Save and Close.
In the example shown in the procedure above, the document was validated but not approved.
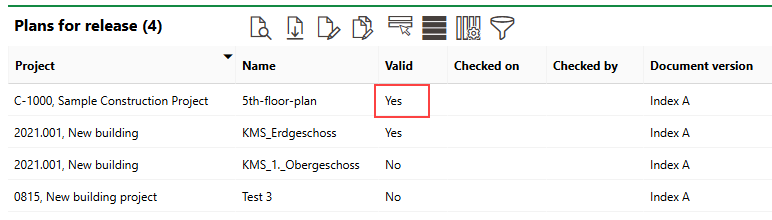
Validated Document
You can repeat the procedure above to approve the document. VertiGIS FM records the date and employee who saves the document as checked.
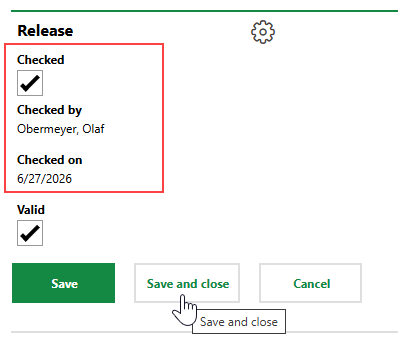
Checking a Document
When the document is checked, it no longer appears in the Plans for Release section. You can still access the document in the Plans section on the details page for the associated project. If you edit the document again, you can see that it has been checked in the History section.
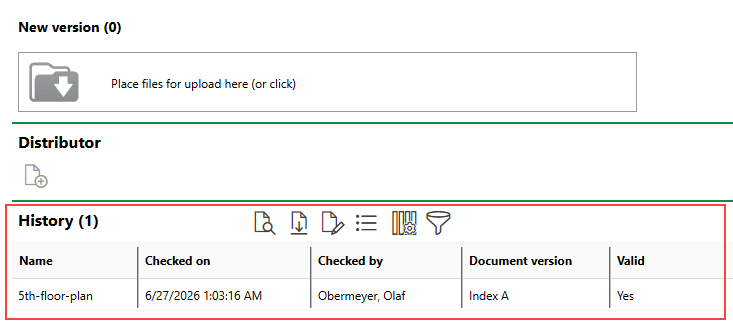
History Section
Edit Plan Documents
You can edit a document's details by selecting it in the Plans section and clicking the Edit (![]() ) icon.
) icon.
You can change any of the document's details except for the Release value, or upload a new version of the document beneath the details form.
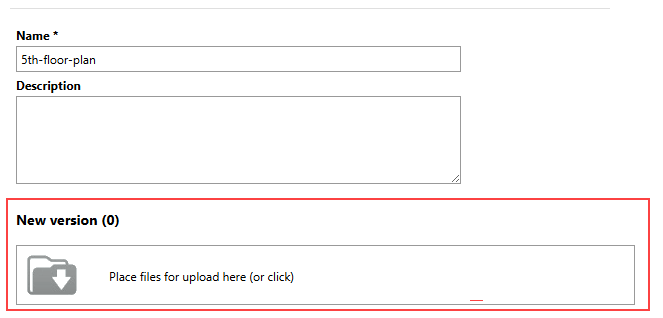
Uploading a New Version of a Document
Field |
Description |
|---|---|
Phase |
The project phase associated with the plan. Selectable options are saved in the Phase catalog. |
Type |
|
Type |
|
Leaf pull |
|
Trade classification |
|
Date |
The date the document is uploaded. |
Release |
Selectable options are saved in the Release catalog. |
Scale |
The scale of objects in the drawing to their actual size. Selectable options are saved in the Scale catalog. |
Draftsman |
The party that drafted the document. Select a party from the Contact Management module. |
Name |
A name for the document. |
Description |
A description of the document. |