An export allows you export data from VertiGIS FM into a third-party system.
Exports are added in two steps: first, create the export and enter parameters for the third-party database into which you want to export data from VertiGIS FM on the Settings tab. Then specify the data you want to export on the Export tab.
Add an Export
Server information and credentials are required to add a database as an import.
To Add an Export
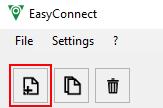
1.In the top-right corner of the application, click the ![]() icon.
icon.
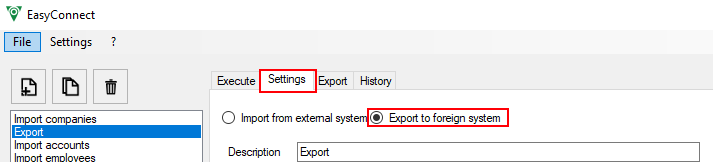
2.In the Settings tab, select Export to foreign system.
3.Enter the export settings outlined in the table below.
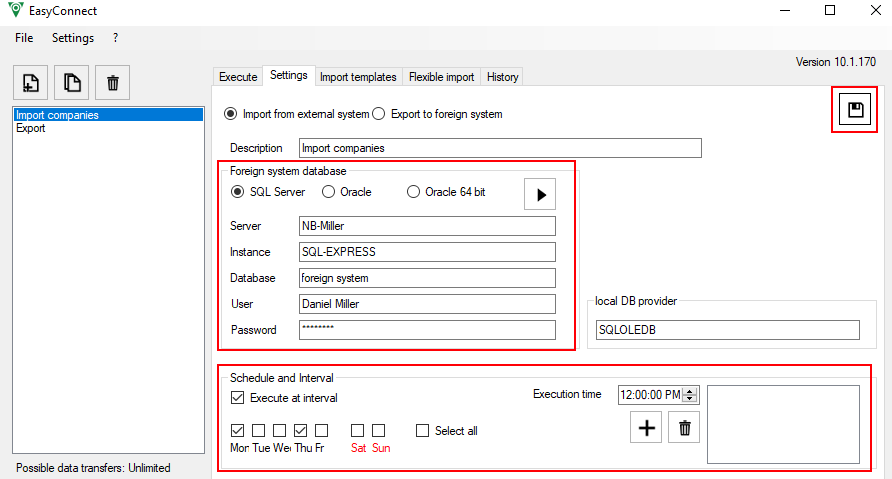
4.Click the ![]() icon in the top-right corner.
icon in the top-right corner.
5.Navigate to the Export tab to configure the SQL, CSV, or XML output.
Setting |
Input |
|||||||||||||||
|---|---|---|---|---|---|---|---|---|---|---|---|---|---|---|---|---|
Description |
Enter a description for the export. |
|||||||||||||||
Foreign system database |
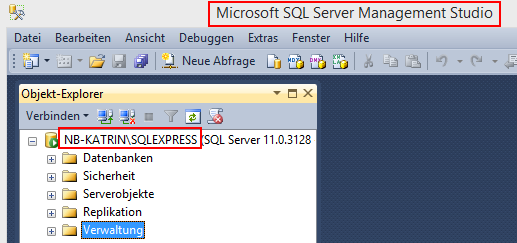
Select SQL-Server or Oracle, depending on the type of database from which you are exporting data.
Sample Database in SQL Server |
|||||||||||||||
Schedule and Interval |
Select the Execute at Interval check box if you want the export to occur programmatically without having to trigger it manually. In the Execution Time field, enter the time using a 24-hour clock at which you want the export to run on the selected days. Using the day check boxes, select the days on which you want the export to occur. You can click the
Schedule and Interval Section of Import Setup |

You can manage additional export settings on the Export tab.
Export
Click the Export tab after entering the basic export settings. In this tab, you can specify the data fields you want to export, including the module (or VertiGIS FM product) and entity (or object), that stores them.
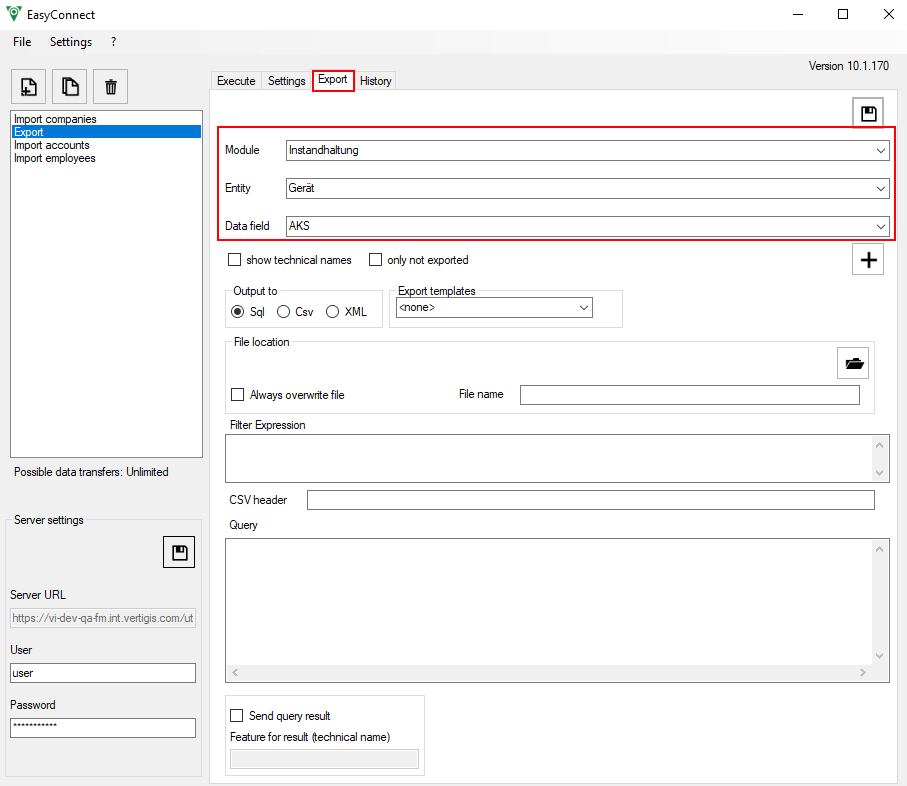
Export Tab
Setting |
Description |
|---|---|
Module |
The VertiGIS FM product or module from which you want to export data (e.g., VertiGIS FM Buildings or VertiGIS FM Maintenance). |
Entity |
The object associated with the VertiGIS FM product selected in the Module field (e.g., buildings or devices). |
Data field |
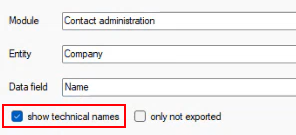
The data field into which you want to export data. Select the Show Technical Names check box to differentiate between data fields that may share the same user-facing name.
Show Technical Names Check Box on Export Tab |
SQL Output
To produce an SQL output, select SQL under Output To. In the Module and Entity menus, select the VertiGIS FM product and object from which you want to export data, respectively. Then select the data type you want to export and click the ![]() button. The selected data field should appear in the Query section of the Export tab.
button. The selected data field should appear in the Query section of the Export tab.
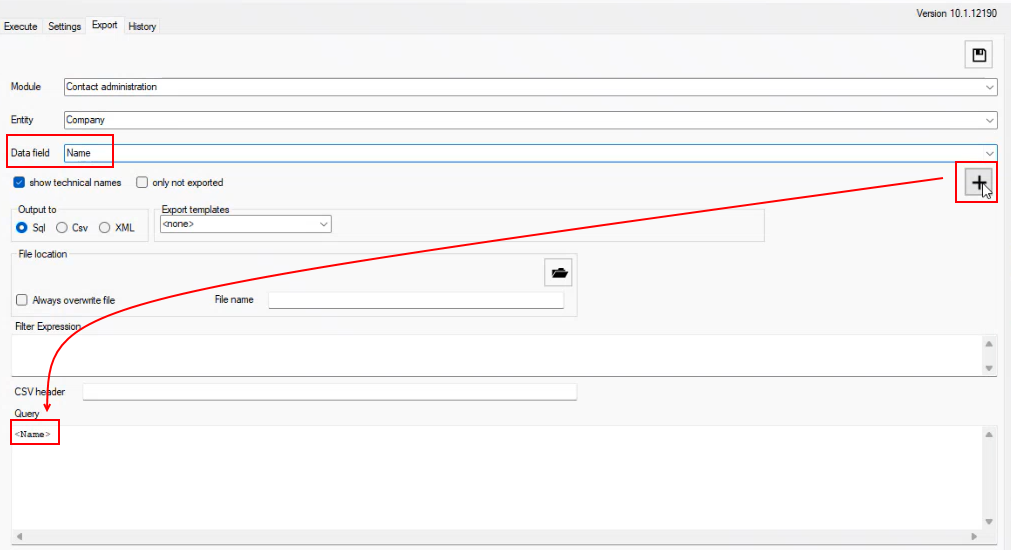
Adding Data Field Column to Query
You can write a statement that uses the data type in the Query text box.
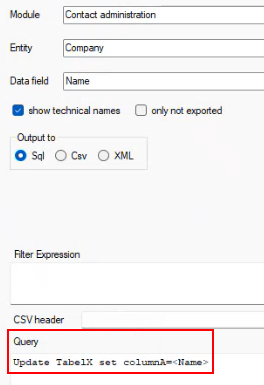
SQL Statement
CSV Output
To output a CSV file, select CSV under Output To. In the Module and Entity menus, select the VertiGIS FM product and object from which you want to export data, respectively. Then select the data type you want to export and click the ![]() button. The selected data field should appear as a new column in the Query section of the Export tab. You can add additional fields for however many columns you want the CSV output to contain.
button. The selected data field should appear as a new column in the Query section of the Export tab. You can add additional fields for however many columns you want the CSV output to contain.
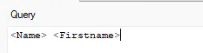
Additional Data Field Column in Query
Under File Location, select a location in which you want to store the output. Select the Always overwrite file check box if you want the data to be saved into the same file each time the export is executed. Leaving this check box unselected means a new file will be created for each export.
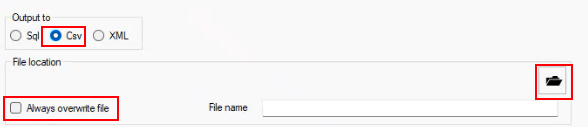
CSV Output File Selection
Leaving the Always Overwrite File check box unselected means a third-party application in which the path to the file is specified will not be able to keep track of the file.
Enter the delimiter to be used to separate columns in the CSV file in the Separator field.

Column Separator for CSV Output
In the CSV header text box, you can optionally enter names for the column headers separated by the delimiter you specified above. These correlate to columns for the data specified in the query.
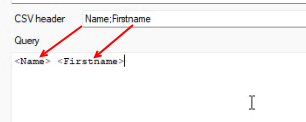
CSV Header for Columns in Query
You can enter additional filter criteria in the Filter Expression text box. For example, if you are exporting data fields for buildings in the VertiGIS FM Buildings product, you could enter an expression to limit the export to building in a certain state, province, or country.
Use of the expression editors is intended for software developers or professional services users only.
You can add columns to the CSV file by selecting a VertiGIS FM product, object, and data type and then clicking the ![]() button.
button.
Execute
When the export is configured as desired, you can navigate to the Execute tab and run it.