You can modify a dimension's setting, or remove it completely. For more information on available dimension types, visit Create Dimensions.
To edit a dimension:
1.Click Construction > Dimensions.
2.Click Edit.
3.Select the dimension on the map that you want to modify.
The dimension geometry and text are highlighted on the map, and the dimension settings appear in the panel.
4.Modify the dimension settings, as described in the table below.
Field |
Description |
|---|---|
Style Class |
Defines how the dimensions appear on the map (for example,the symbology for lines, arrows, and text). Style adjustments affect both ordinate and abscissa dimensions simultaneously. You can configure the available style classes in the dimension feature class properties of the database. |
Text Position |
Click Move to drag the dimension text to the desired location. Provides separate controls for ordinate and abscissa text positioning. Both ordinate and abscissa text positions are highlighted when selected. |
Vertices |
Click Move to click and drag the dimension vertices. |
Overwrite manually dimension value |
When selected, enables the Measured length field for you to manually enter the dimension length. |
Measured length |
This field is enabled when you select Overwrite manually dimension value. Enter the new value for the dimension length. |
Display Options |
Select Hide Line to hide the dotted dimension line for the Abscissa, Ordinate, or both from the map. |
Select Hide Symbol at Beginning to hide the X symbol that marks the start point of the dimension line. |
|
Select Hide Symbol at End to hide the / symbol that marks the end point of the dimension line. |
5.Click Close to save the settings and return to Dimensions tab.
To edit an orthogonal dimension as a group:
1.Go to Construction > Dimensions.
2.Click Edit Group.
3.Select an orthogonal dimension on the map. The main axis along with the perpendicular measurements are highlighted.
4.Adjust the style of the dimension group - the color, scale, and/or reliability.
5.Adjust the display options of the dimension group - show or hide symbols at beginning or end.
6.Click Close to save the changes and return to the Dimensions tab.
Whereas the normal edit would just edit a single dimension feature, the Edit Group edits the entire orthogonal dimension - including all abscissas and ordinates.
To delete a dimension:
Deleting a dimension is irreversible.
1.Go to Construction > Dimensions.
2.Click Edit.
3.Select the dimension on the map.
4.Click Delete.
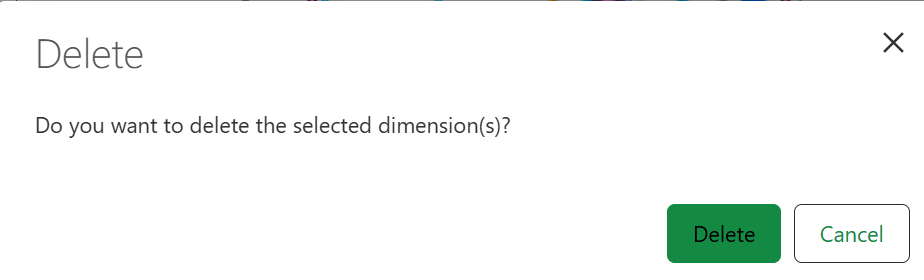
A dialog appears to confirm that you want to delete the selected dimension.
5.Click Delete.
The dimension is permanently removed from the map and the dimension panel resets.
Deleting an orthogonal dimension will remove both its abscissa and ordinate components. A confirmation dialog will appear before the deletion is completed.
To delete a dimension group:
1.Go to Construction > Dimensions.
2.Click Edit Group.
3.Select an orthogonal dimension on the map. The main axis along with the perpendicular measurements are highlighted.
4.Click Delete.
A dialog appears to confirm that you want to delete the selected dimension group.
5.Click Delete.
The dimension group is permanently removed from the map and the dimension panel resets.
1.Go to Construction > Dimensions.
2.Click Copy.
The dimension copy functions are shown in the panel.
3.Click Select, then click the dimension you want to copy on the map.
The selected dimension's information is shown in the panel.
You can select multiple dimensions to copy by repeating step three. To remove a dimension from the selection, click Remove next to its information.
4.Choose a Dimension Layer to paste to from the drop-down.
The drop-down list only shows dimensions from visible layers.
5.Choose a Dimension Style from the drop-down for your copied dimension.
6.Click Paste, then click on the map where to place the copied dimension.
The copied dimension is now placed in the dimension layer and style you defined.