A dimension measures and marks distances on your map so you can visualize lengths, distances, or sizes of objects.
For example, you could use the Dimensions tool to measure and mark the lengths and distances between road sections, bridge spans, and buildings.
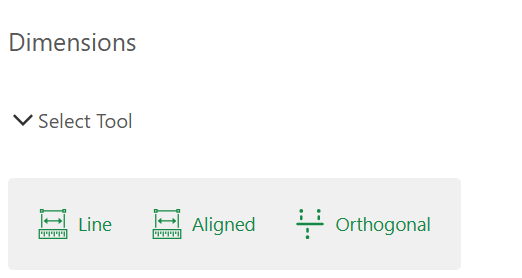
The available dimension types are as follows:
•Aligned: Measures the true distance between the dimension start point and endpoint. The dimension line is drawn parallel to the invisible baseline (axis) defined by these points.
•Line: Measures a straight-line distance between two points.
•Orthogonal: Measures one or more perpendicular distances between a defined axis and a single structure or feature.
•Extension: Measures the distance between an existing line/edge/reference line and a defined endpoint.
Dimensions are displayed only if they are included in the web map and the current map scale falls within their configured visibility range.
To create a dimension:
1.Go to Construction > Dimensions.
2.Click Create.
3.Select the dimension type.
4.Configure the dimension settings, as described in the table below.
Field |
Description |
|---|---|
Dimensions |
Select to create a dimension. When selected, shows the Dimension Feature Layer and Style Class fields. |
Construction Points |
Select to create reference markers that help guide the construction or alignment of features (for example, a cable trench). When selected, shows the Construction Point Layer, Abscissa,and Ordinate fields. |
Dimension Feature Layer |
The layer to store and display the dimension features. |
Construction Point Layer |
The layer to store and display the construction points. |
Style Class |
Defines how the dimensions appear on the map (for example,the symbology for lines, arrows, and text). You can configure the available style classes in the dimension feature class properties of the database. |
Reliability |
Select Reliable to indicate an exact and confirmed measurement, and Unreliable to indicate an approximate or an unconfirmed measurement. |
Abscissa |
The horizontal distance from the y-axis, measured in X. |
Ordinate |
The vertical distance from the x-axis, measured in X. |
Every configured dimension setting is saved for the session. The next time you create a dimension, your previously configured settings are the default settings.
5.Draw the dimension on the map, according to the dimension type:
•Line: Click on the start and end points of the feature or area to measure it in a straight line.
•Aligned: Click on the start and end points of the feature or area to measure it in a straight/diagonal line.
•Orthogonal: Draw perpendicular measurements from a reference line
a.Click to set the start point of your reference line.
b.Click to set the end point - this completes your reference line.
If your start point is on an existing reference line (a polygon, polyline, or dimension), the system uses the closest vertex as the start point, captures its vector angle, and allows you to follow this angle for the new line.
c.Move your cursor perpendicular to the reference line and click to complete the measurement
▪You can add multiple perpendicular measurements to the same reference line, creating an orthogonal dimension group.
▪Start point label option: When enabled, marks the origin point of the perpendicular measurement with a "0.00" label (formatted according to your dimension style). This helps identify where the perpendicular measurement begins along the reference line. The label appears once per orthogonal group.
▪Auto double underline end dimension: When enabled, marks the longest abscissa with a double underline style, while the rest of the abscissas aren't. This helps define your end dimension.
The dimension appears on the map. The example below shows an Orthogonal dimension.
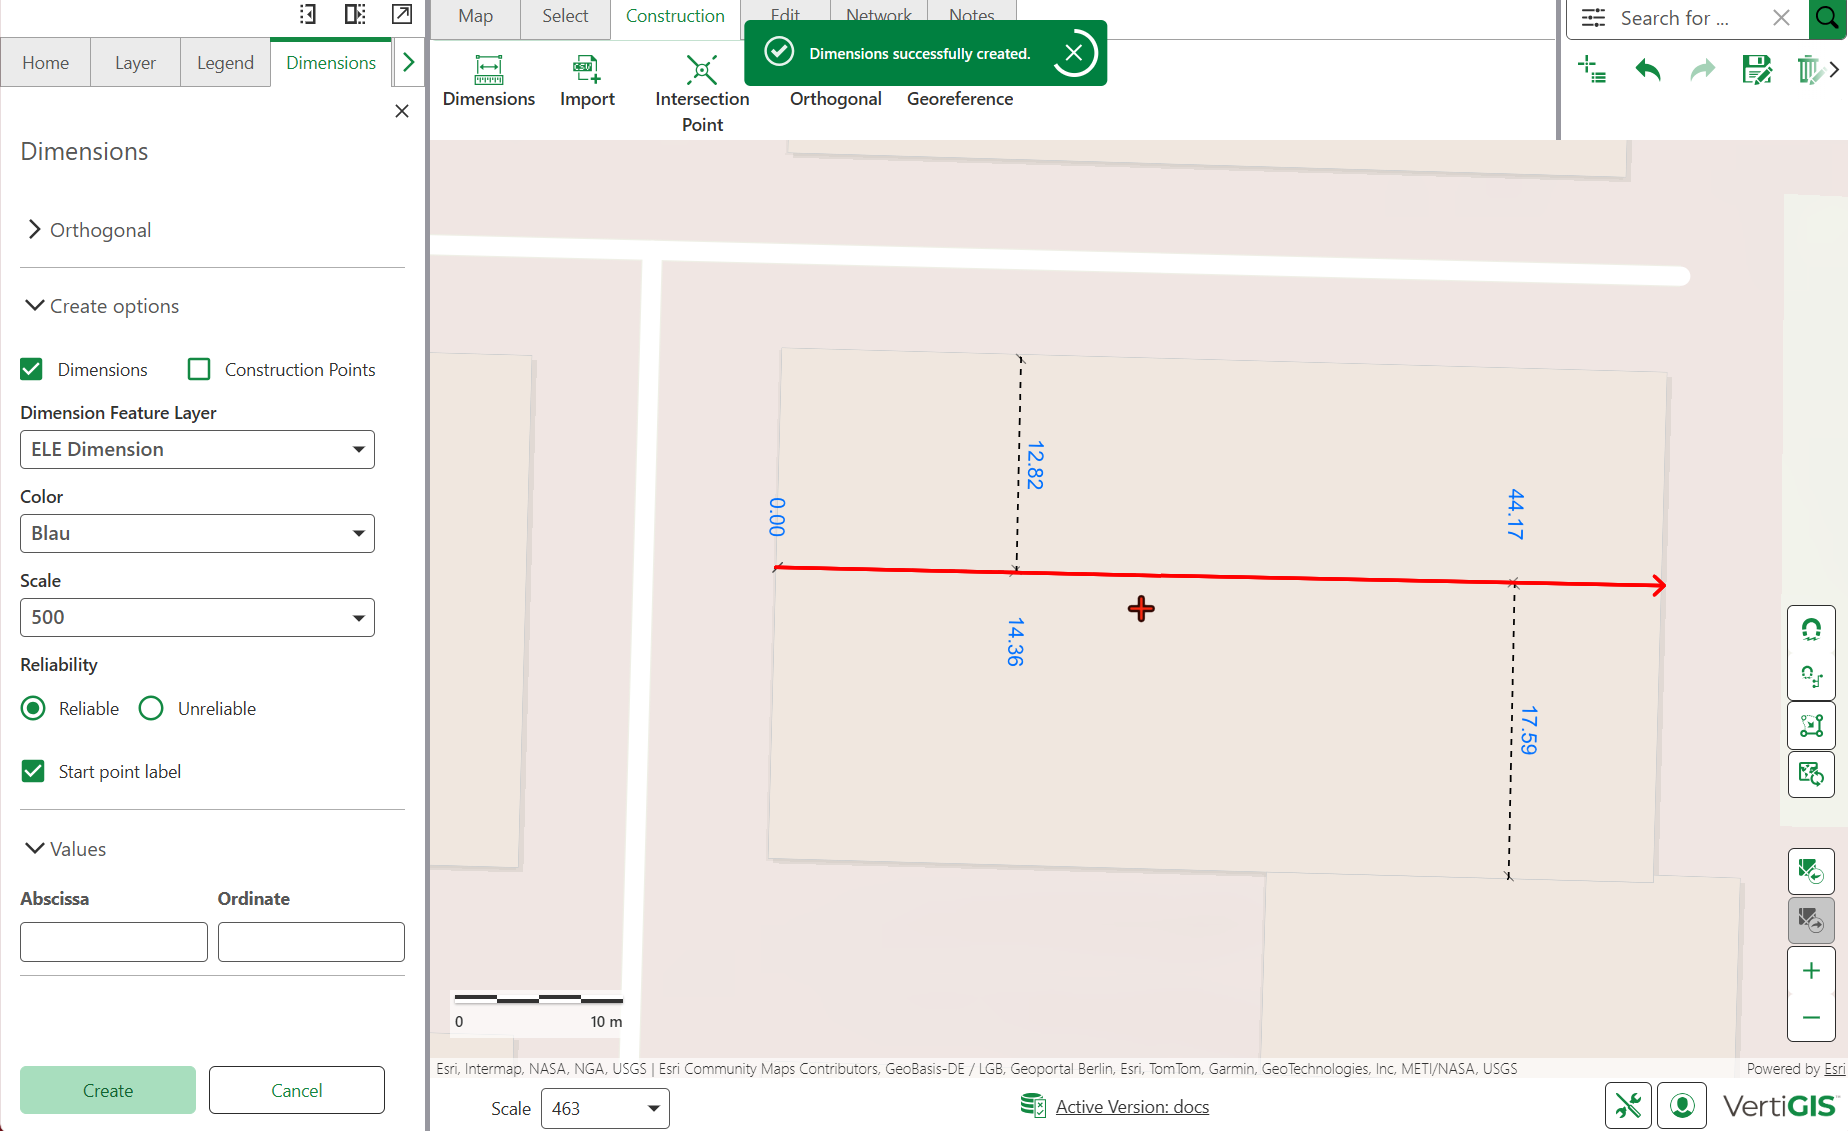
You can add multiple orthogonal dimensions using only your keyboard. Enter the values of the orthogonal dimensions in the abscissa and ordinate cells (press Tab to navigate between cells). Then, press Enter to create your new dimension(s).
•Extension: Create a new dimension starting from an existing line/edge/reference line. To start, click near the existing reference line, then choose your end point on the map.
The Extension tool identifies the nearest vertex (endpoint) of the selected line, and uses it to create the new dimension in the same direction.
•Optional: You can input the measured length of your newly created dimension -whether it is a line, aligned, orthogonal, or extension dimension- instead of choosing it on the map. The dimension is then saved and set to the measured length value you input.
You can remove the input measured length feature from the dimension's action menu by clicking Show Settings and then unchecking Overwrite manually dimension value.