On the Door and Window Data page, you can manage catalogs that store the types of doors, gates, and windows that you can select when you add a new door, gate, or window to the system. These entries are associated with default data that is inherited by any doors or windows you associate with the door or window type.
To access the Door and Window Data page, click Door and Window Data in the Actions section on the VertiGIS FM Buildings dashboard or VertiGIS FM Maintenance dashboard.
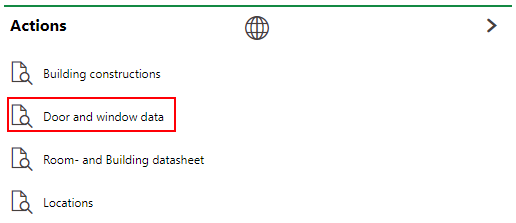
Link to Door and Window Data Page
Door Types
The Door Types section lists entries that can be selected as the type of door or gate when you add a new door or gate to the system, or edit an existing one.
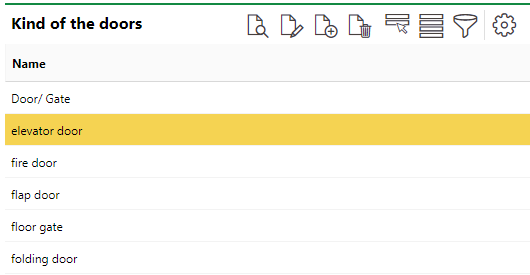
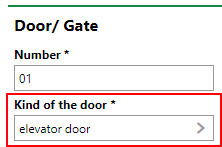
You must select one of these entries from the Door Type menu when you add or edit a door or gate.
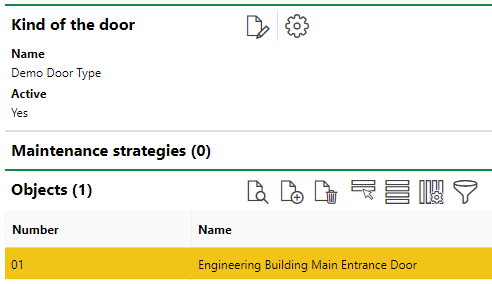
When you double-click an entry in the catalog, you can see the doors associated with the door type in the Objects section.
Add a Door or Gate Type
To add a new door type, click the Add (![]() ) icon in the Door Types section. You must then enter a name for the door or gate type. Select the Active check box to make the door type selectable for individual doors and gates in the system.
) icon in the Door Types section. You must then enter a name for the door or gate type. Select the Active check box to make the door type selectable for individual doors and gates in the system.
Default Values
Expand the Default Values tab to enter additional information about the door type. These values are inherited by a new door or gate when you select the associated door type entry from the Door Type menu.
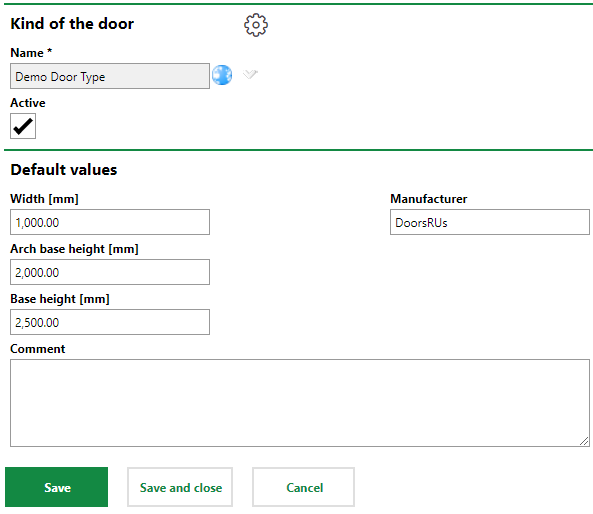
Default Values for Door or Gate Type
Edit a Door or Gate Type
You can edit a door or gate type entry by selecting it in the Door Types section and clicking the Edit (![]() ) icon.
) icon.
Delete a Door or Gate Type
You can delete a door or gate type entry by selecting it in the Door Types section and clicking the Delete (![]() ) icon.
) icon.
Window Types
The Window Types section lists entries that can be selected as the type of window when you add a new window to the system, or edit an existing one.
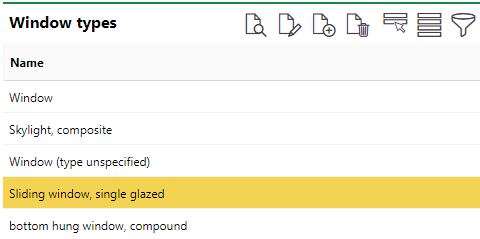
Window Types Section on the Door and Window Data Page
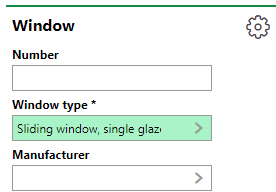
You must select one of these entries from the Window Type menu when you add or edit a window.
When you double-click an entry in the catalog, you can see the windows currently associated with the window type in the Objects section.
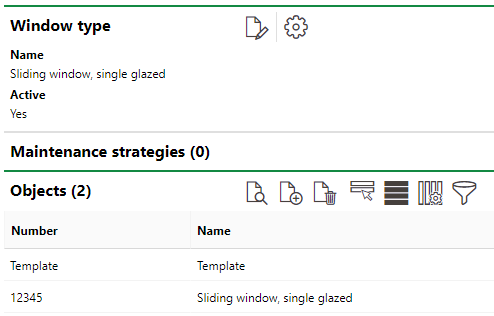
Specific Windows Associated with Window Type
Add a Window Type
You can add a window type by clicking the Add (![]() ) icon in the Window Types section. You must then enter a name for the new window type. Select the Active check box to make the window type selectable for windows in the system.
) icon in the Window Types section. You must then enter a name for the new window type. Select the Active check box to make the window type selectable for windows in the system.
Default Values
If you expand the Default Values tab, you can enter additional information for the window type. These values are inherited by a new window when you select the entry from the Window Type menu.
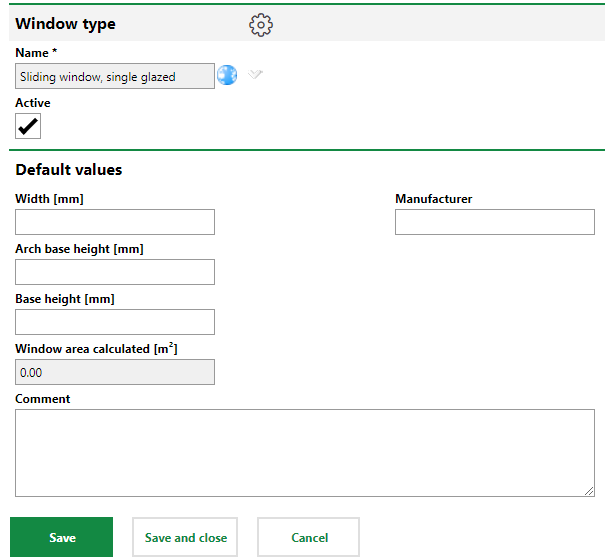
Default Values for Window Type
Edit a Window Type
You can edit a window type by selecting it in the Window Types section and clicking the Edit (![]() ) icon.
) icon.
Delete a Door or Gate Type
You can delete a window type by selecting it in the Window Types section and clicking the Delete (![]() ) icon.
) icon.