The Relationships function lets you see on the map how structures and lines are connected. These relationships can be spatial or non-spatial, depending on the features involved. For example, if you want to relate addresses to features and structures, you can create a non-spatial link using relationships.
Relationships can exist between spatial objects, non-spatial objects or between a spatial and a non-spatial object. You can configure relationships by creating relationship classes and foreign-key relationships, for more information on the topic, visit the ArcGIS Pro documentation.
To edit relationships:
1.Go to Edit > Relationships. In the left side panel, the Relationships tab opens.
2.Load the features or structures by any of the various available tools from the map.
Button |
Description |
|---|---|
|
Load the desired features or structures with a mouse click on a structure line or by drawing a rectangle over a map area. |
|
Load the structures that are already selected in the map from another step or with another selection function. |
|
Load all the available structure lines in the current map extent. |
|
All loaded structure lines and relationship information are removed from the results list. |


In the web app, you can configure for which structure line types relationships are supported.
Only the features of feature classes which are connected via relationship classes can appear in the panel and be selected for relationships.
3.Create a new relationship by clicking the action menu next to the loaded feature, then clicking on Create relationship to identified feature. Choose the feature you want to create the relationship with and click on it in the loaded map.
There are certain predefined rules for every feature when it comes to creating a relationship between features. If you violate one of the rules, an error message pops detailing the description of the rule you violated.
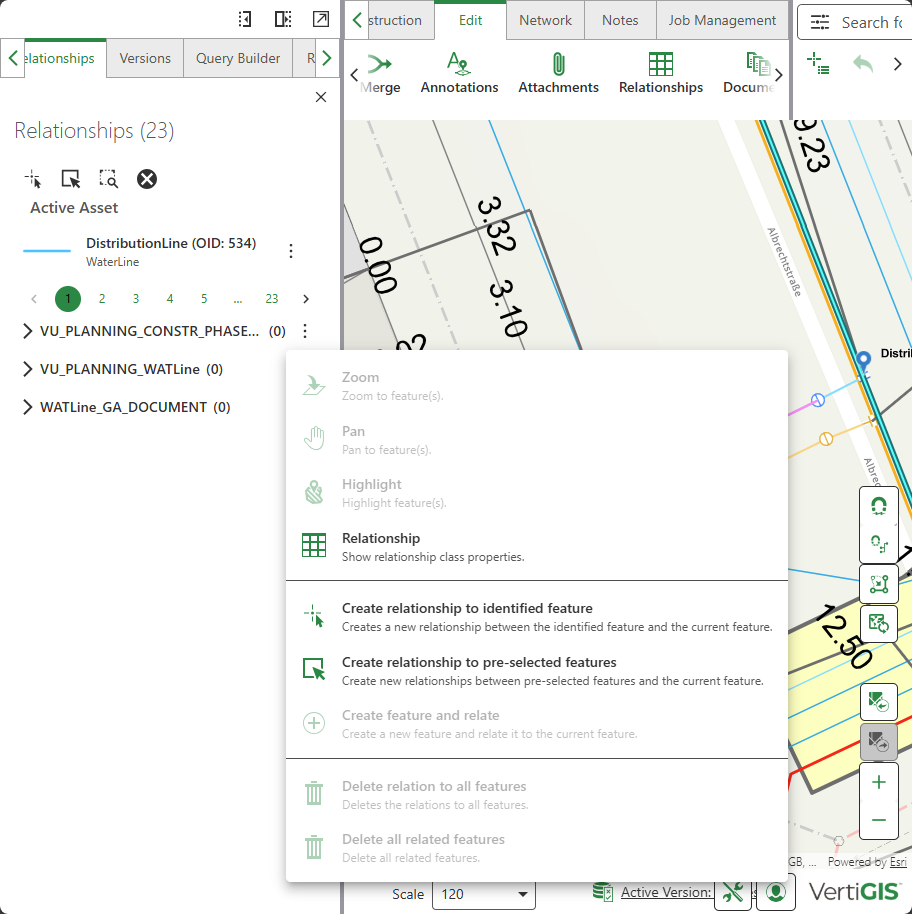
4.You can perform some edit actions on your created relationships by clicking on the action menu, the following functions appear:
Button |
Description |
|---|---|
|
Zoom to the related feature on the map. |
|
Pan to the related feature on the map. |
|
Briefly highlight this feature on the map. |
|
Show the attributes of the selected feature in a read only mode. |
|
Show the definition of the relationship class for this feature. You cannot edit the relationship class definition for this feature from this window, you can only view them here. The menu item shows related layers, cardinality, and information about whether it is an attributed or a composite relationship class. |
|
Create a new relationship between the identified feature and the current active feature. |
|
Create a new relationship between preselected features and the current active feature. |
|
Create a new feature and a relationship between it and the current active feature. |
|
Delete the relationship(s) to the current active feature. |
|
Delete both the relationship and the feature that is related to the current active feature. |


5.To create a new non-spatial relationship, click on the action menu next to the name of the structure, then click Create feature and relate. A new feature form is opened, fill in the fields and click Submit.
You have now created a non-spatial feature that is related to your current structure.
To create a relationship with selected features:
1.Go to Select > Query Builder.
2.Search for and select the desired features (e.g., documents).
3.Go to Edit > Relationships.
4.Select an area containing the features.
5.Open the context menu for the target feature.
6.Select Create relationships to preselected features.
The system checks the selected features that can be related to the current class and creates the relationships.
Create relationships to preselected features works with both spatial and non-spatial features and supports multiple selections at once.