Microsoft Exchange Online is a cloud-based SaaS (Software As A Service) for email. If your organization subscribes to Microsoft Exchange Online for email, you can follow the steps below to register and configure a Groupware application that allows your users to receive email and appointment or meeting messages based on VertiGIS FM events.
Register and Configure an Application
To connect VertiGIS FM to your Microsoft Exchange Online service, you must register and configure VertiGIS FM as a Groupware application in the Microsoft Entra admin center.
Register the Application
Begin by navigating to https://entra.microsoft.com/#home and signing in to your account. On the admin center landing page, click Go to Microsoft Entra ID.
Link to Microsoft Entra ID
In the left pane, under Identity, click Applications > App registrations.
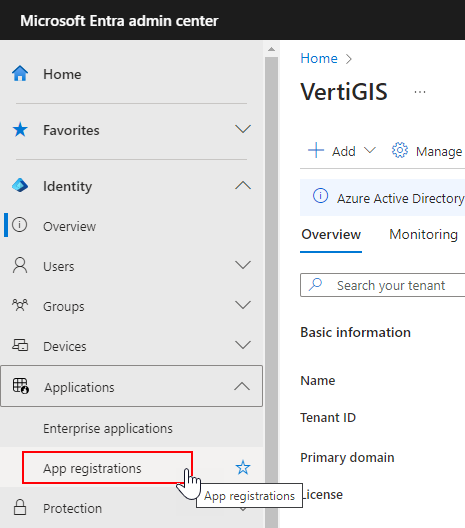
App Registrations Link
Click New Registration.

Link to Register New App
Enter the name for the application (for example, VertiGIS FM) and select Register an application to integrate with Microsoft Entra ID (App you're developing).
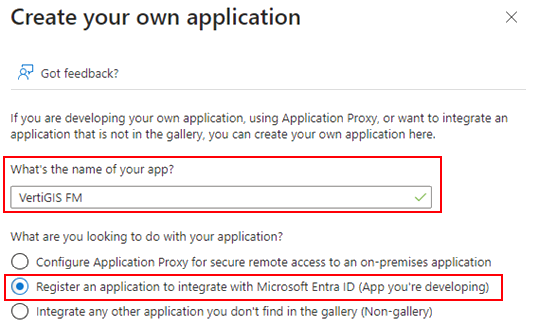
Generic App Name and Integration Selection
In the Name text box, enter a user-facing display name for the application. Under Supported account types, select Accounts in this organization directory only.
When you have completed the steps above, you can now configure the application.
Configure the Application
Complete the sections below on the administrative page for your new app.
Properties
On the Properties tab, set the Assignment required? and Visible to users? toggles to No.
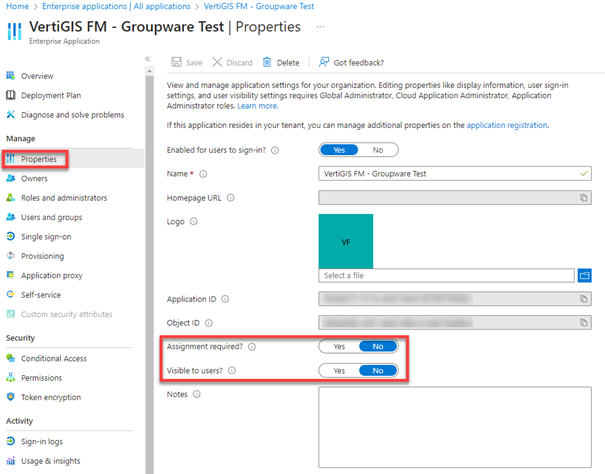
Groupware Application Properties
Single Sign On
On the Single sign-on tab, click Go to application.
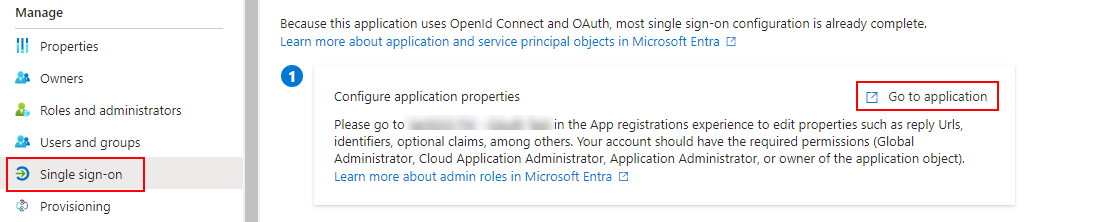
Groupware Application Single Sign-on
You can then access the Certificates and secrets and API Permissions sections from the new Manage menu that loads.
Certificates and Secrets
In the Certificates & secrets tab, open the Client secrets tab and click New client secret.
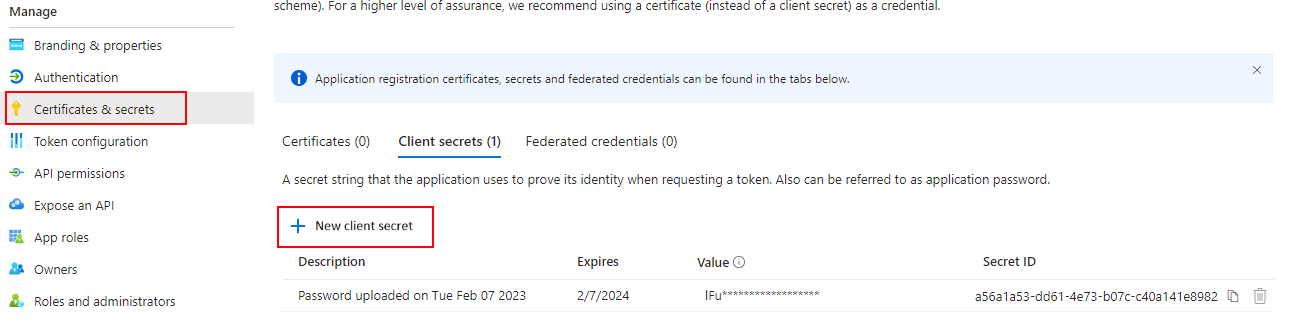
Groupware Application Certificates & Secrets
Enter a secret name for the application, set the expiration time, and click Add.
API Permissions
In the API Permissions section, add permissions for the items below under Microsoft Graph:
API Permissions for Exchange App
Permission |
Admin Consent Required |
|---|---|
Calendars.Read |
Yes |
Calendars.ReadWrite |
Yes |
Mail.Read |
Yes |
Mail.ReadWrite |
Yes |
Mail.Send |
Yes |
User.Read |
No |
Application Access Policy
An application access policy limits your app's access to certain mailboxes in your organization's Exchange Online subscription.
The mailboxes to which you want to allow access must be put in a mail-enabled security group in Entra ID. Using PowerShell, you can then create an Application Access Policy to limit the application's access to the accounts in this group.
To Create an Application Access Policy
1.Run PowerShell as an administrator.
2.Run cd C:\Users\[your Windows user ID].
3.If you do not already have the Exchange Online Management Module installed, run Install-Module -Name ExchangeOnlineManagement.
4.Run Connect-ExchangeOnline.
5.Run New-ApplicationAccessPolicy -AppId <ID> -PolicyScopeGroupId <Mailbox (UPN)> -AccessRight RestrictAccess -Description "<Description>".
You can then test the policy by running Test-ApplicationAccessPolicy -AppId <AppId> -Identity <Mailbox (UPN)>.
If the mailbox identity matches the one you specified in step #5, the output should resemble the one shown below:

Access Granted for Command with Correct Identity
If the mailbox identity does not match the one you specified in step #5, the output should resemble the one shown below:

Access Denied for Command with Incorrect Identity
Refer to Limiting application permissions to specific Exchange Online mailboxes for more information.
Connect the Application to VertiGIS FM
Complete the steps below in VertiGIS FM to connect the application you registered with VertiGIS FM.
To Connect the Application to VertiGIS FM
1.Sign in to VertiGIS FM.
2.Navigate to the GroupWare administration page (Administration > Interfaces > GroupWare).
3.In the Server section, click the Add (![]() ) icon.
) icon.

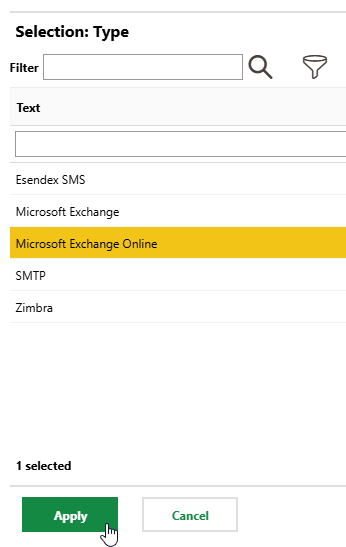
4.Click the arrow in the Type menu. Select Microsoft Exchange Online and then click Apply.
5.Enter the appropriate inputs in each of the form fields. Refer to Microsoft Exchange Online Server Inputs for descriptions of each field.
6.Click Save and Close.
Microsoft Exchange Online Server Inputs
Field |
Input |
|---|---|
Type |
The type of server being configured. Select Microsoft Exchange Online. |
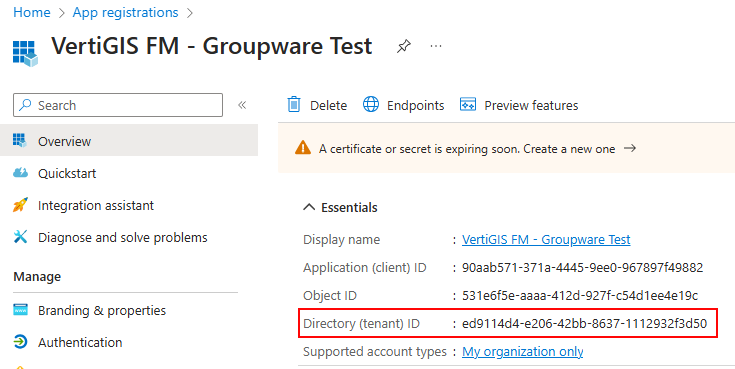
Mandant ID |
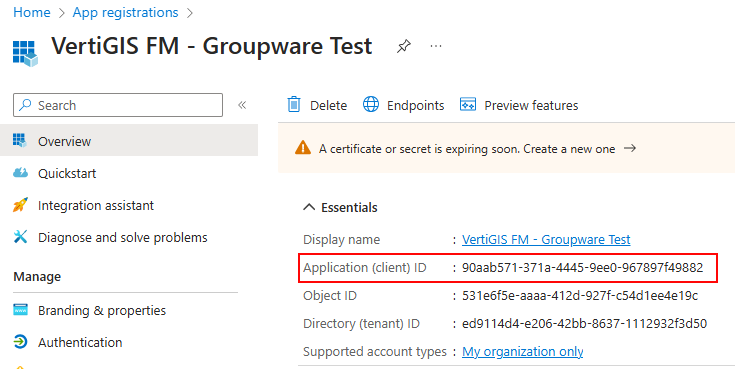
The tenant ID of your application. You can find this in the Overview tab for the application, under Essentials, in the Microsoft Entra admin center.
|
Client ID |
The tenant ID of your application. You can find this in the Overview tab for the application, under Essentials, in the Microsoft Entra admin center.
|
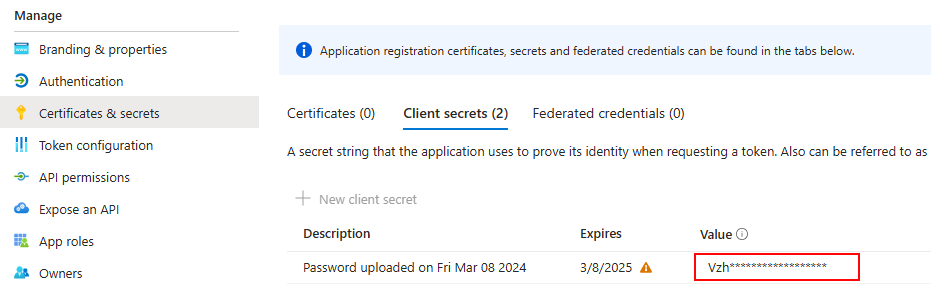
Password |
The value in the Value column on the Certificates and Secrets tab for the application in the Microsoft Entra admin center. The value is only visible once, when you create the client secret.
|
Confirm Password |
The value in the Value column on the Certificates and Secrets tab for the application in the Microsoft Entra admin center. The value is only visible once, when you create the client secret. |
E-mail address |
The email address of the sending inbox. |
Test e-mail to |
The email address of the sending inbox. |
Cloud URL |
Always enter https://login.microsoftonline.com. |
Service desk integration |
A check box that, if selected, means that all emails sent to a specified email address will open a service desk ticket. Refer to Service Desk Integration for more information. |
Permitted email domains |
The domains to which email or appointment messages are restricted. For example, if the event notified users when a work order is assigned to them, and you assigned the work order to an external contractor whose email address is not in a domain specified in this section, they would not receive an email. You can click the Add ( |
Service Desk Integration
The Service Desk Integration form becomes visible on the server configuration form when you select the Service Desk Integration check box.
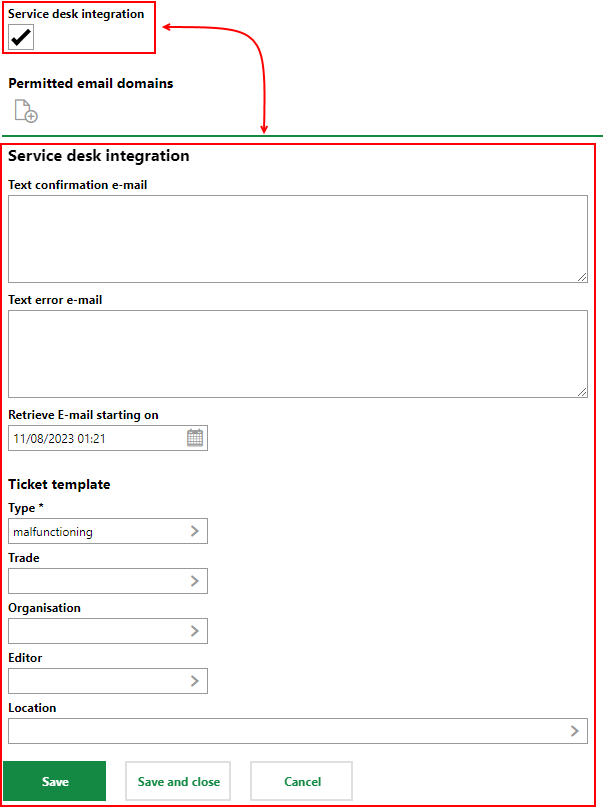
Service Desk Integration Check Box and Corresponding Form
Service Desk Integration Form
Field |
Description |
|---|---|
Text confirmation e-mail |
Message indicating a corresponding service desk ticket has been created in the email. |
Text error e-mail |
Message indicating a corresponding service desk ticket was unable to be created in the email. |
Retrieve E-mail starting on |
The date and time the service desk integration with the email account will begin. |
Ticket Template |
Refer to Service Desk Ticket Fields for ticket information on the fields contained in this section. |
Events
After connecting your organization's SMTP server, you can configure VertiGIS FM events that will trigger notifications. Refer to Groupware Events.