This topic outlines how to add, edit, and delete an allocation key.
Add an Allocation Key
You can add a new allocation key on the Rental Management dashboard.
To Add a Allocation Key
1.Navigate to the Rental Management dashboard.
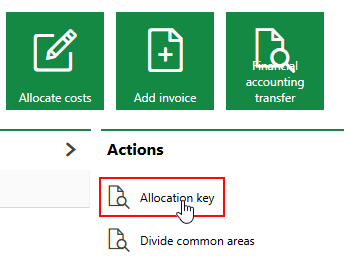
2.Under Actions, click Allocation Key.
If you do not see the Actions section, its template may be missing from the dashboard. You will need to add the Actions template to your customized dashboard or revert to the legacy start page. Refer to Dashboard Customization for more information.
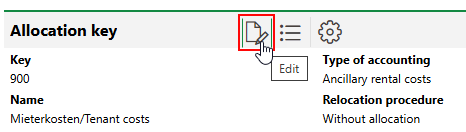
3.Click the Add (![]() ) icon.
) icon.
4.Enter the required allocation key details. Refer to Allocation Key Details for field descriptions.
5.Click Save and Close.
Edit an Allocation Key
You can only edit an allocation key's Key, Name, and Property fields can it has been created.
To Edit an Allocation Key
1.Navigate to the Rental Management dashboard.
2.Under Actions, click Allocation Key.
3.Double-click the allocation key you want to edit.
4.Click the Edit (![]() ) icon.
) icon.
5.Edit the allocation key's details as required.
6.Click Save and Close.
Delete an Allocation Key
You can delete an allocation key on the same page that you edit it.
To Delete an Allocation Key
1.Navigate to the Rental Management dashboard.
2.Under Actions, click Allocation Key.
3.Select the allocation key you want to delete and click the Delete (![]() ) icon.
) icon.
4.Click OK.