You can assign an inventory item in a real estate, building, floor, or room to indicate its current location.
An inventory item's installation location is indicated in the Location section on its details page. Location assignment occurs chronologically, which means the inventory item can only be assigned to one location at a time. The method for changing an inventory item's location assignment ensures the dates will not overlap with those of another location assignment.

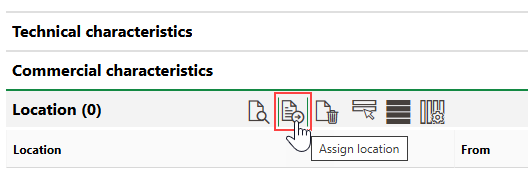
Location Section on Inventory Item Details Page
Existing Inventory Item
You can update the location of an existing inventory item on its details page.
You cannot manually change the location of an existing inventory item if the inventory item
•has already been counted during a stocktake.
•was added to the system via CAD import.
To Update the Location of an Existing Inventory Item
1.Navigate to the details page for the inventory item whose location you want to update.
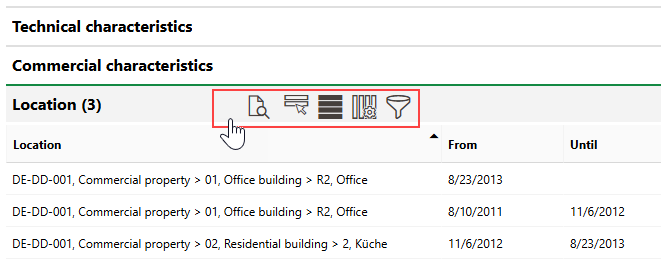
2.Expand the Location section and click the Assign Location (![]() ) icon.
) icon.
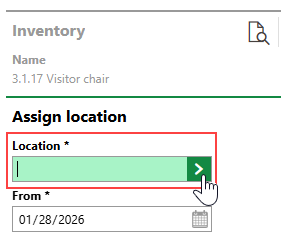
3.Click the > button in the Location menu.
4.Select the real estate, building, floor, or room in which you want to install the inventory item and click Apply.
5.In the From menu, select the date from which the inventory item will be installed in the selected location.
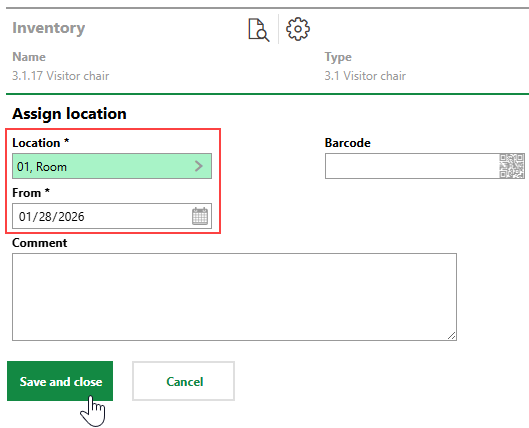
6.Click Save and Close.
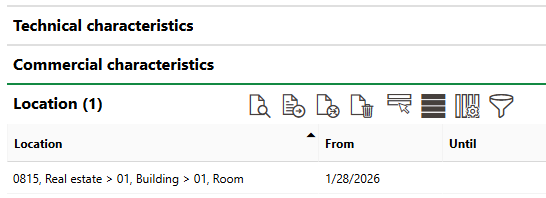
The Location section on the inventory item's details page now reflects the new installation location from the selected date.
Updated Installation Location Assignment Dates
If the inventory item was already installed in another location, the system will end this assignment the day before the date of the new location assignment.
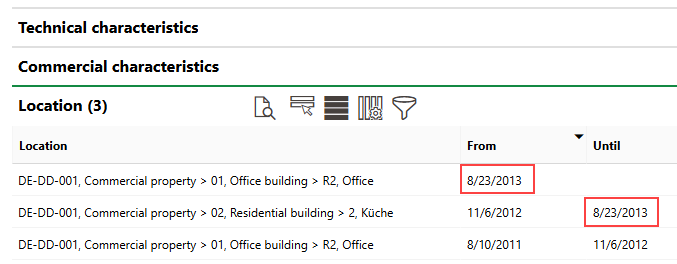
Updated Installation Location Assignment Dates
Imported Inventory Items
Inventory items added to the database via CAD import are automatically assigned locations based on the attributes of the CAD file.
You cannot manually change the location assignment of inventory items added via CAD import. You can only change the location of these inventory items by importing a new CAD file for the floor.
Absent Assign Location Icon in Locations Section
You can see which inventory items were uploaded via CAD import on the search page, by filtering with the Originates from CAD column.
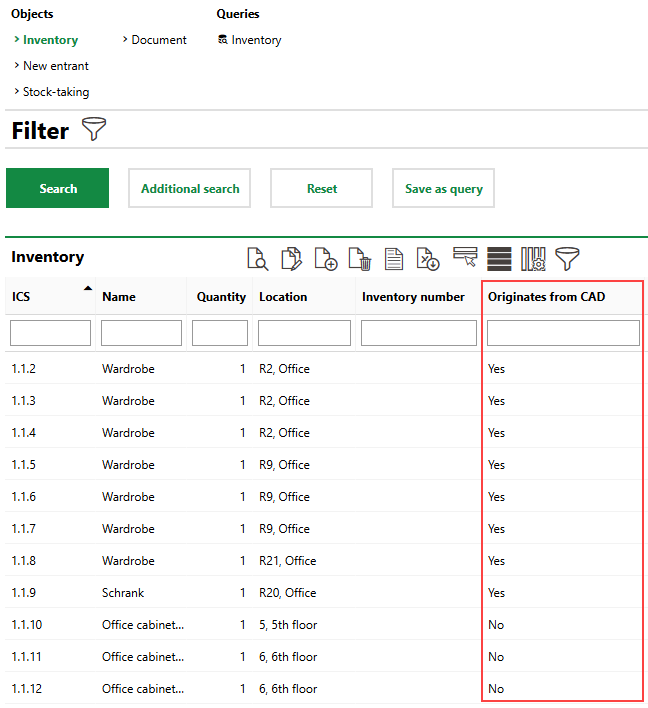
CAD Import Indicator on Search Page
New Inventory Items
You can assign a new inventory item to a location by creating it on the details page of the real estate, building, floor, or room in which it is located. The new inventory item is immediately assigned to this location. Refer to Add an Inventory on the Location's Details Page.
Inventory items assigned to a real estate, building, floor, or room appear in the Inventory section on the location's details page (for example, on the real estate's details page).
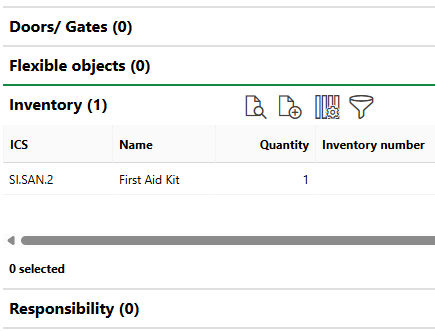
Inventory Section on Real Estate Details Page
Update Location Via Stocktake
You can change the location of inventory items not imported via CAD file by scanning the inventory item's barcode during the stocktake for a building location other than the one where the inventory item is currently located.
Refer to Conduct Stocktakes for more information.