The DXF export tab contains two icons: one to start the DXF export and another to view the DXF export log.
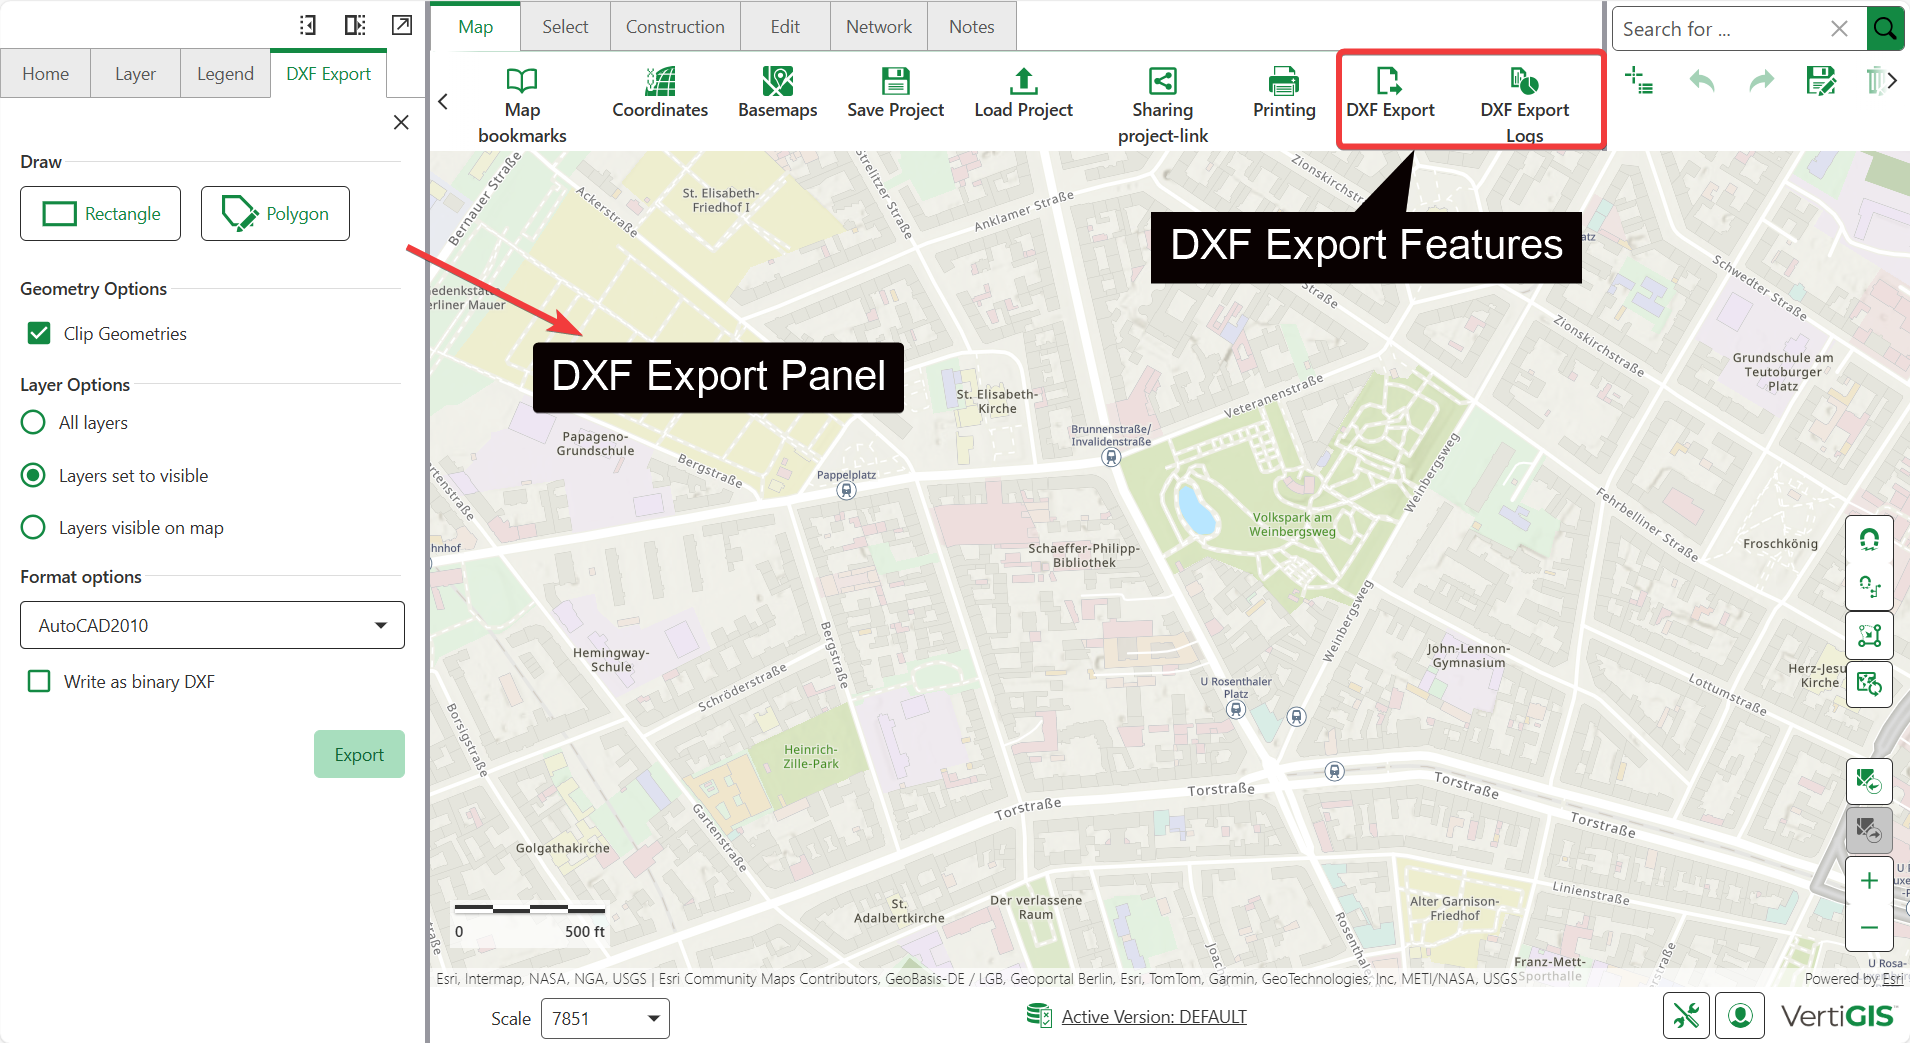
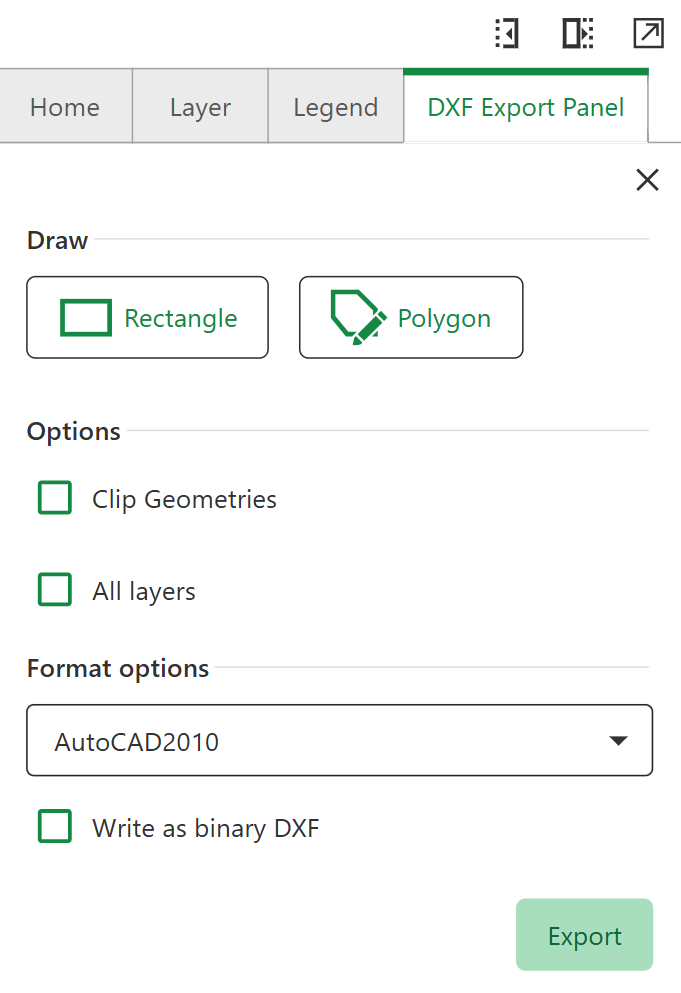
With DXF export, you can draw either a rectangle or a free polygon on the map. The geometries that intersect with the selected area are exported.
To export data as a DXF file:
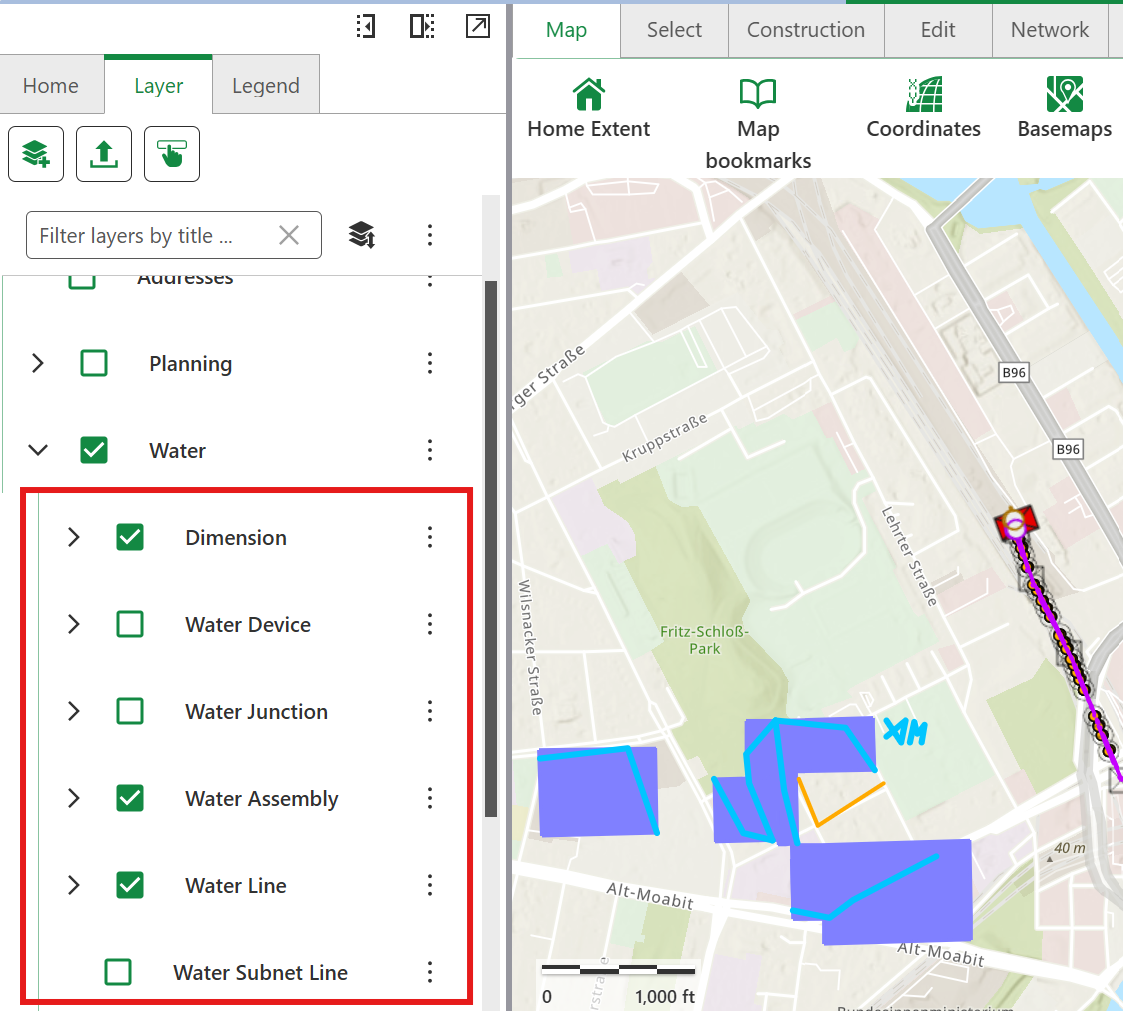
1.Select all required layers via the Layers tab.
2.From the Home tab, select DXF Export.
3.Select an Export Area:
oSelect Area: select a polygon that's already available on the map.
▪If multiple polygons overlap at the selected location, the first one is selected by default. The user can change this default selection from the options list. The area definition panel displays information about the selected polygon, and the map automatically zooms in to that polygon.
▪Upon selection of available polygon, the map automatically zooms in on the selection.
oDraw Rectangle: draw a rectangle to specify the export area.
oDraw Polygon: draw a polygon to specify the export area.
oClear Area: reset the selection for export.
4.To reset the area, select one of the clear options from Export Area section.
5.Enable Clip Geometries to clip all geometries to fit within your selected shape - features that extend beyond the boundary will be cut at the edge, ensuring clean export boundaries.
6.Configure Layer Options:
oAll Layers: Export every layer in your map, regardless of current visibility settings or scale dependencies.
oLayers set to visible: Export only layers that are currently turned on in the Layers panel. When a parent layer is disabled, all of its sub-layers are automatically excluded from the export.
oLayers visible on map: Export only layers that are actually visible at your current map scale and zoom level. This option respects both layer visibility settings and scale-dependent display rules - if a layer is enabled but not showing due to scale limits, it won't be included in the export
7.Configure Format options:
oAutoCAD2010: Modern format with enhanced 3D support and advanced geometry features.
oAutoCAD2000: Legacy format for compatibility with older CAD software.
8.Select Write as binary DXF to export a compressed DXF file - offers smaller file size and faster loading performance.
9.Click the Export button to save the DXF file. When the file is ready, it is automatically downloaded into the default Download directory.
DXF Export supports only one export at a time. You can start another once the current export is complete.