Network Locator uses Keycloak as the central user management component. This section shows you how to configure Keycloak in the context of Network Locator. Keycloak is an open-source identity and access management tool that handles the authentication, authorization, and user management.
After deploying the Network Locator Web Services, the User Management Admin Console is available via https://<KUBERNETES-BASE-URL>/keycloak-instance-<namespace>.
Realms
In Keycloak, a realm is a logical grouping of users, roles, and configurations within the authentication and authorization system. Each realm operates independently, managing its own user credentials, roles, and access policies. This allows you to isolate resources and user management for different applications or use cases within the same Keycloak instance.
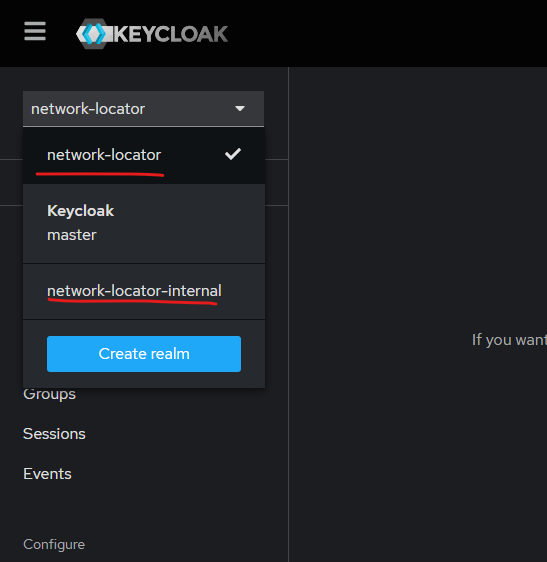
The Network Locator user management provides two distinct realms:
•network-locator
•network-locator-internal
This separation enhances security by clearly segregating user roles and access levels, preventing the accidental assignment of roles with higher privileges to external users.
Access KeyCloak Admin Console
1.Log in to the Admin Console with the user account that you specified in the values.yaml file (see Deploy Network Locator).
2.Select network-locator or network-locator-internal from the dropdown list.
The initial user is created during the HELM deployment, and the admin user specified in the HELM values can be used to log in to Keycloak. This admin user can then create additional users as needed.
E-Mail Settings
Configure the E-Mail settings of the network-locator and network-locator-internal realm as described in the Keycloak help documentation.
Roles
Access Roles
There are three types of standard access roles in Network Locator: vnl_acc_user, vnl_acc_admin and vnl_acc_cockpit.
•User Role: All newly created users are assigned the vnl_acc_user role, which allows them to log in to the Network Locator Web App. This role grants access to essential endpoints for retrieving configurations, initiating requests, and downloading result ZIP files.
•Admin Role: If a user requires access to the Admin Client the vnl_acc_admin role must be assigned.
•Cockpit Role: If a user requires access to the Cockpit Client the vnl_acc_cockpit role must be assigned.
To assign the Admin role:
1.Navigate to the Users section of the Network Locator realm.
2.Select the desired user.
3.Open the Role Mapping tab.
4.Click Assign Roles.
5.Filter by realm roles, then select the vnl_acc_admin checkbox.
Custom Config Roles
Network Locator supports the creation of custom configuration roles, allowing you to tailor the application’s behavior for specific target groups.
To create a custom role:
1.Log in to the Admin Console with the user account that you specified in the values.yaml file (see Deploy Network Locator).
2.Select the network-locator Realm.
3.Navigate to the Realm Roles section.
4.Click on Create Role to define a new role.
5.Important: Ensure the role name follows the naming convention defined here.
6.Once created, you can assign the role to a user by editing their account and adding the role under the Role Mappings tab.
User Registration
By default, the network-locator realm is configured to allow the user self registration.
When a user clicks Register on the login page, a form opens to register personal data.

By default, the network-locator realm is configured so that a user does not become active immediately after registration. Instead, the admin must verify the registration and confirm whether the user should be granted access to the system.
User Approval
To approve a user:
1.After a user registers, the admin is notified via email that a new user approval is pending.
2.The admin logs in to the network-locator realm and navigates to the Groups section.
3.The admin opens the Members tab within the pending_users group.
4.By selecting the user from the list, the admin can review all personal details.
5.If the user should be granted access to the system, the admin removes the user from the pending_users group.
The user receives an email confirming that their account has been activated, allowing them to log in.
The registration process is configured using a Keycloak authentication flow, which can be customized to meet specific requirements. To modify it, navigate to the Authentication section of the network-locator realm and adjust the VNL Registration Flow as needed.
Deactivate Users on Inactivity
If you require users to be automatically deactivated after a certain period of inactivity, you can easily achieve this using the Keycloak workflow feature.
To configure this, import the provided workflow definition into the Keycloak workflow UI. First, log in to Keycloak and select the networks-locator realm. Then navigate to Configure → Workflows and click on Create Workflow.
Copy and paste the provided workflow YAML definition into the editor. Afterwards, adjust the time settings according to your requirements—for example, define after how many days users should receive a notification or be deactivated.
Workflow Template
name: Disable inactive users |