This topic outlines how to manually add, edit, and delete individual service desk tickets in VertiGIS FM. You can alternatively import your own internal record of service desk tickets into the VertiGIS FM database using a CSV or XML file. This option is ideal for adding, editing, or deleting large quantities of service desk tickets simultaneously (for example, to establish an initial record of your service desk tickets in the VertiGIS FM database).
Add a Ticket
You can create Service Desk tickets on the Service Desk dashboard or the Service Desk search page. You can also create a new ticket with an existing ticket as its template by copying a ticket.
To Add a Ticket
1.Navigate to the Service Desk dashboard or the Service Desk search page.
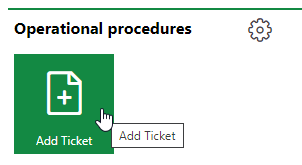
▪On the dashboard, click Add Ticket under Operational Procedures.

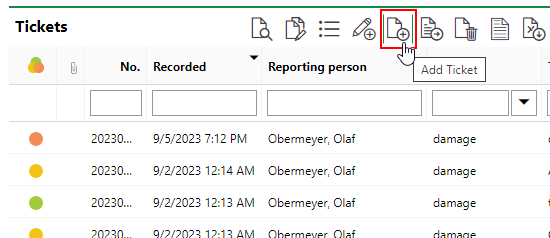
▪On the search page, click the Add Ticket (![]() ) icon in the search grid.
) icon in the search grid.

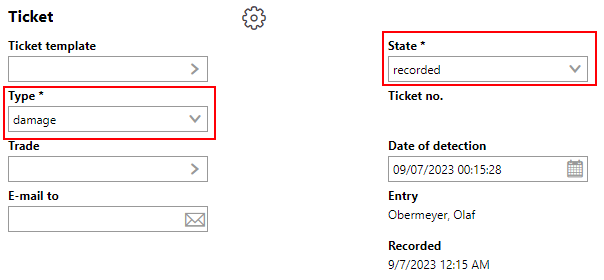
2.Fill out the fields in the new ticket form. The mandatory fields are the Type, State, and Ticket (or name). Refer to Service Desk Ticket Fields for information on the fields in the form.

3.In the Documents section, click Place files for upload here (or click) and select a file to attach to the ticket. Alternatively, you can drag a file into the box from Windows Explorer.
4.Click Save and Close.
You can see the new ticket in the Tickets section on the Service Desk dashboard or in the search grid on the Service Desk search page.
1.Navigate to the ticket details page for the ticket you want to copy.
2.Click the Copy (![]() ) icon.
) icon.

3.Enter or change the details for the new ticket as required. The Type, State, Location, and Object are identical to that of the original ticket.
4.Click Save and Close.
Mark a Ticket as Complete
To manually close a ticket, follow the procedure to edit a ticket and change its State to Completed.
Edit a Ticket
You can edit a Service Desk ticket on the ticket details page.
To Edit a Ticket
1.Navigate to the ticket details page. You can do this by double-clicking the ticket in the Tickets section on the Service Desk dashboard or by double-clicking the ticket in the search grid on the Service Desk search page.
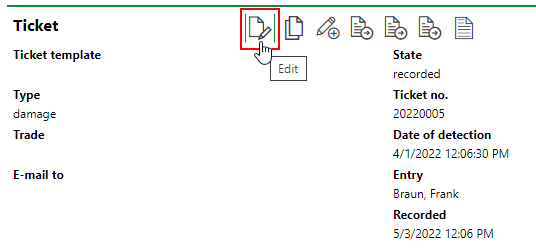
2.In the Ticket section, click the Edit (![]() ) icon.
) icon.

3.Edit the ticket details as required. Refer to Service Desk Ticket Fields for information on the fields in the form.
4.Click Save and Close.
Delete a Ticket
You can delete a ticket on the Service Desk search page. Select the ticket you want to delete in the search grid and click the Delete (![]() ) icon.
) icon.