To create a new geodatabase version in ArcGIS Pro:
1.Open ArcGIS Pro .
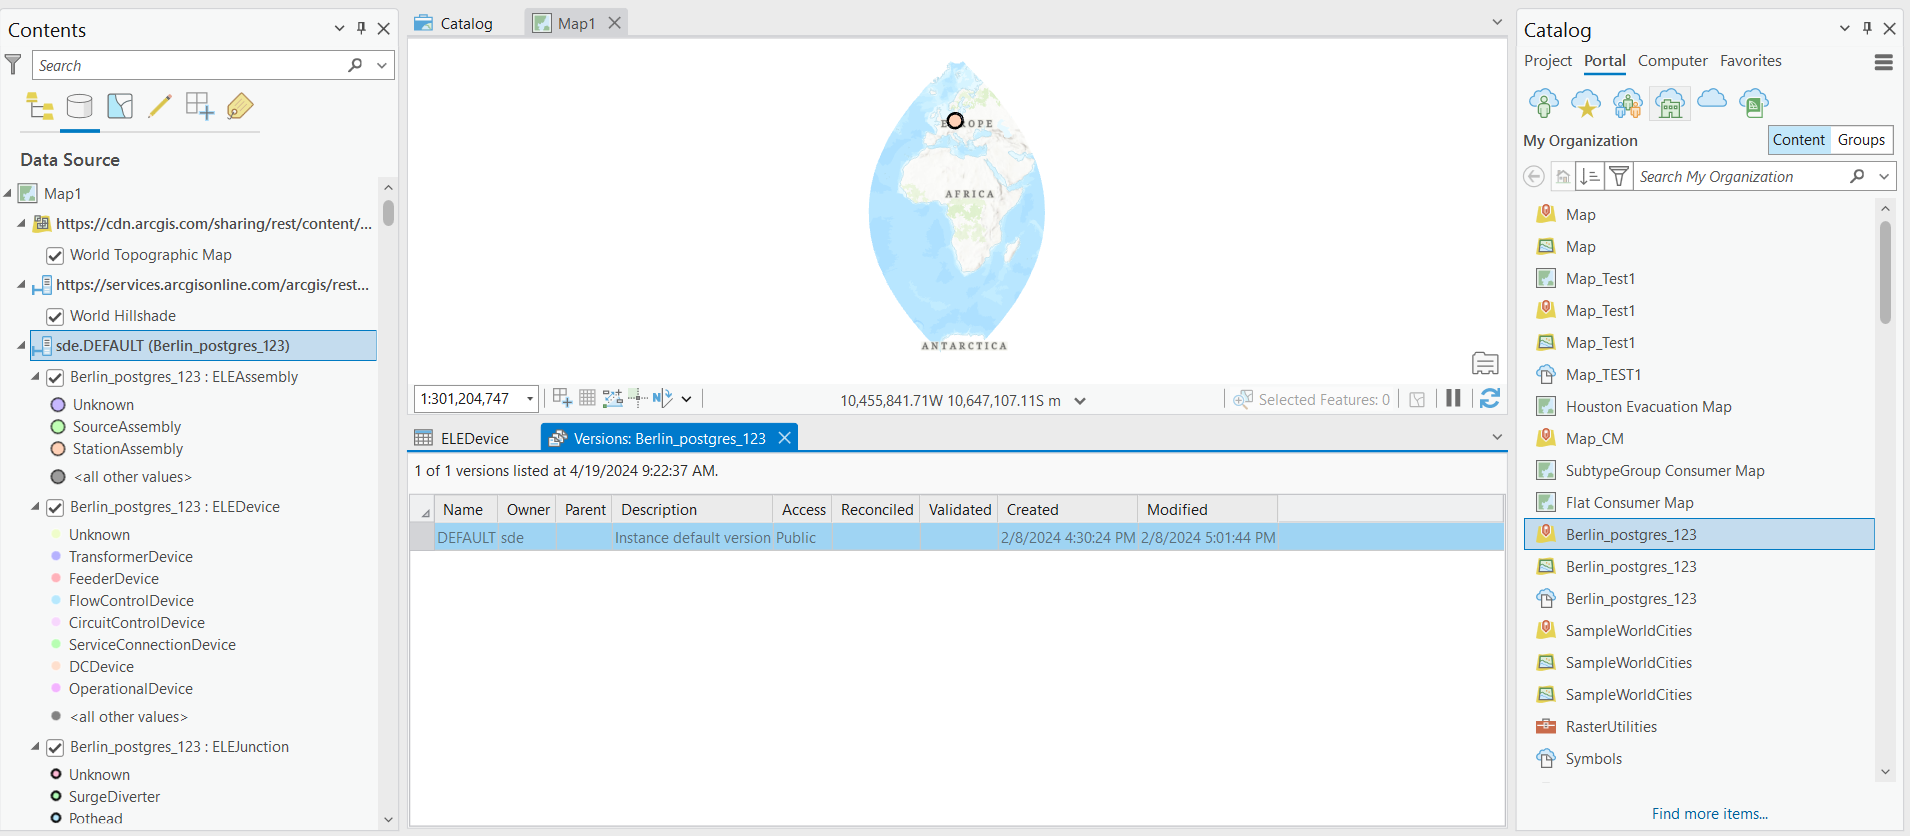
2.Navigate to the Catalog pane at the right.
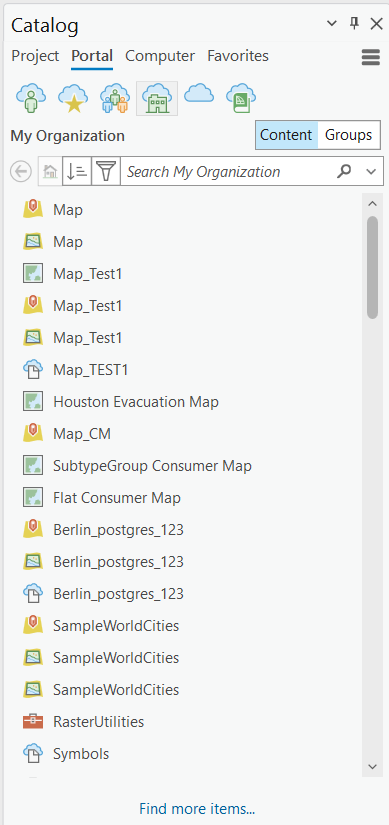
3.Select the Portal tab and then My Organization.
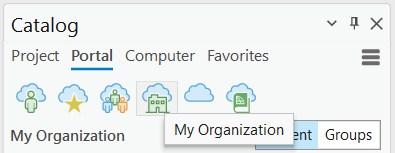
A similar list of items should be displayed underneath.
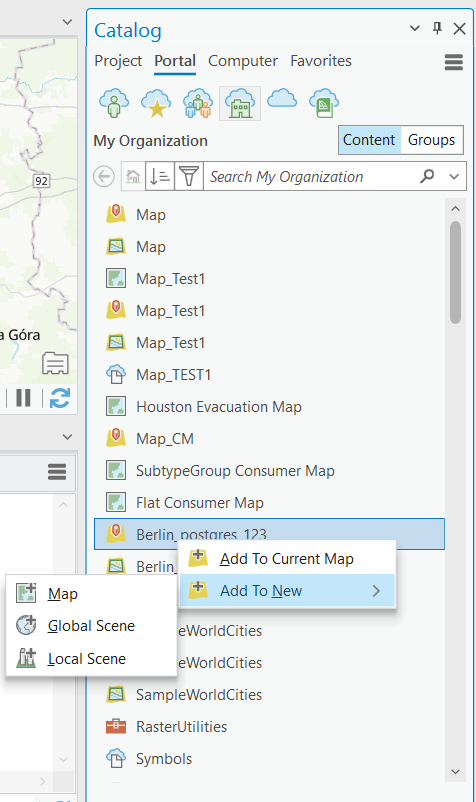
4.Right click on your organization’s Map Service.
5.Right click on the map service and then on Add to New (or Add To Current Map) > Map.
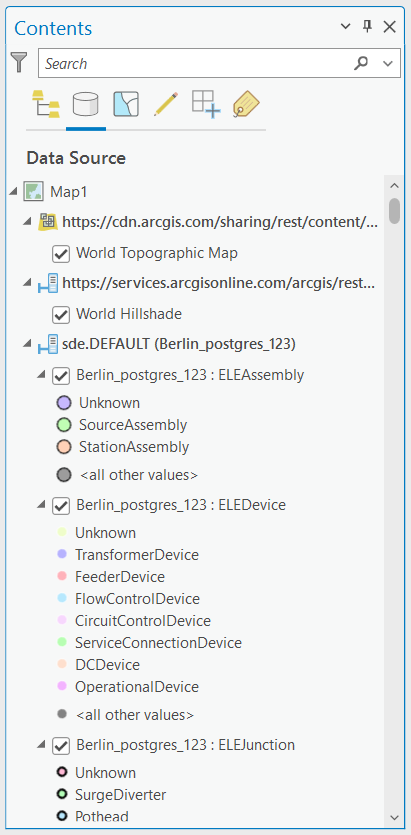
6.Switch to the Contents panel at the left and select the second tab, List By Data Source.
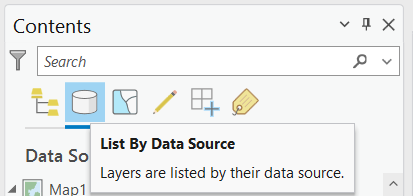
All available Feature Layers will be displayed underneath.
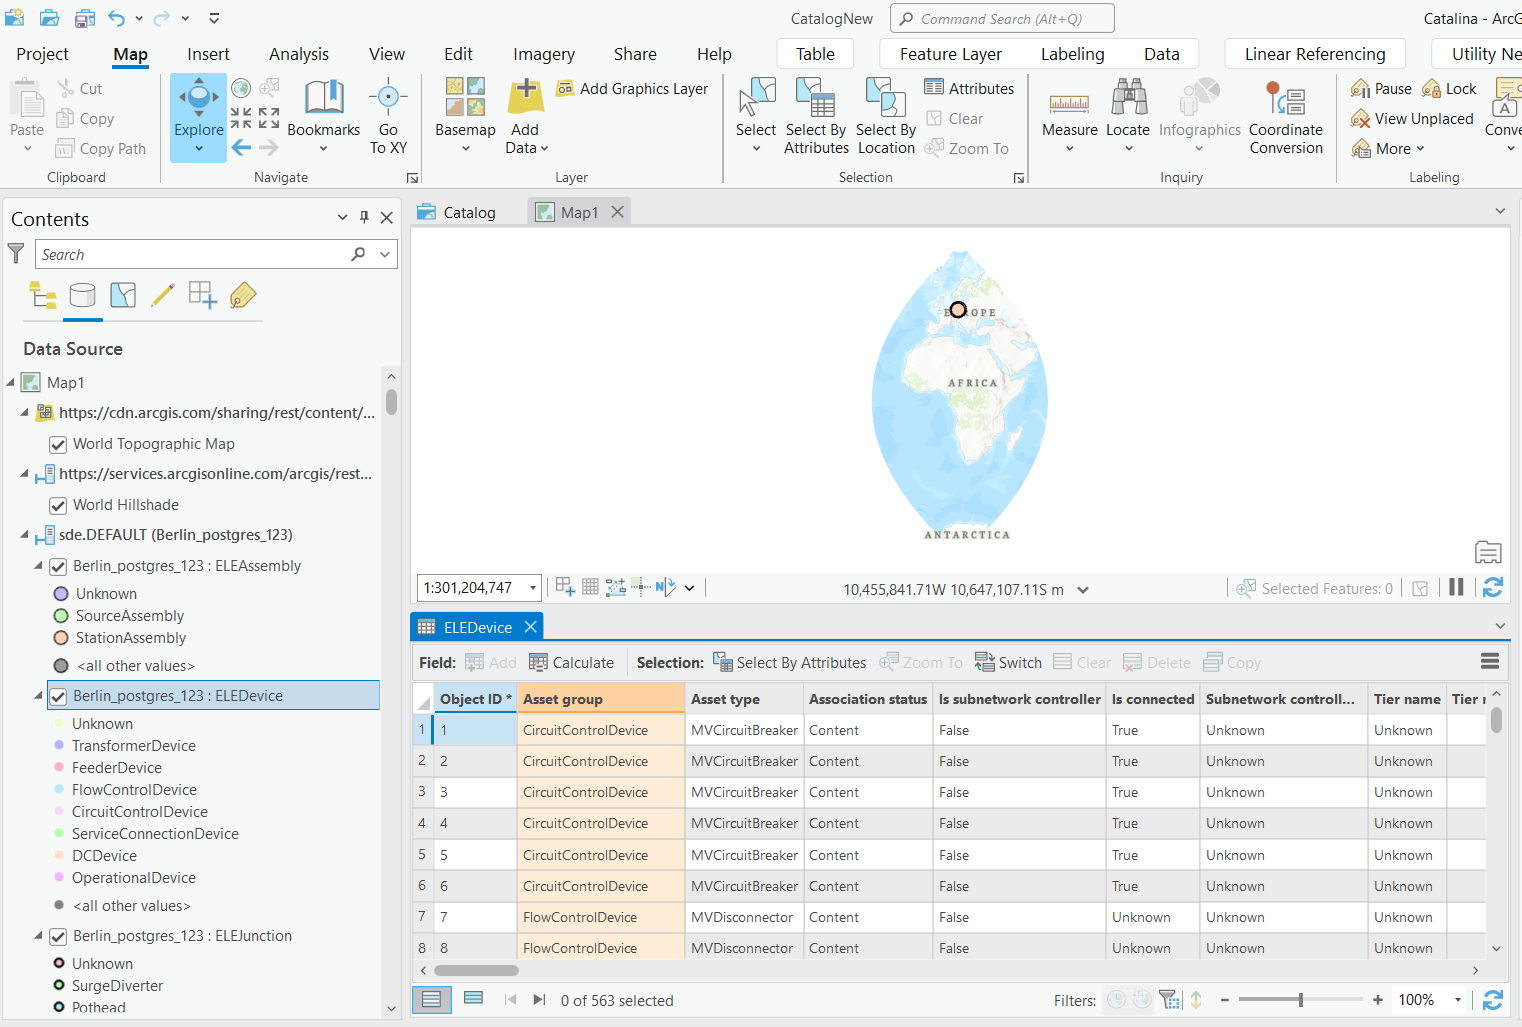
7.Right click on a Feature Layer of your choice and select Attribute Table from the list.
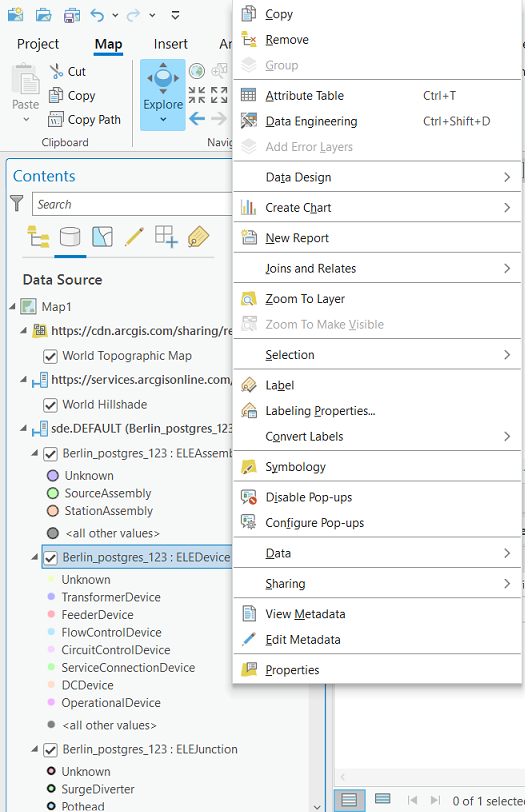
The Feature Layer’s Attribute Table is displayed.
8.Right click on the sde.DEFAULT data source version and then click on the Manage Versions option.
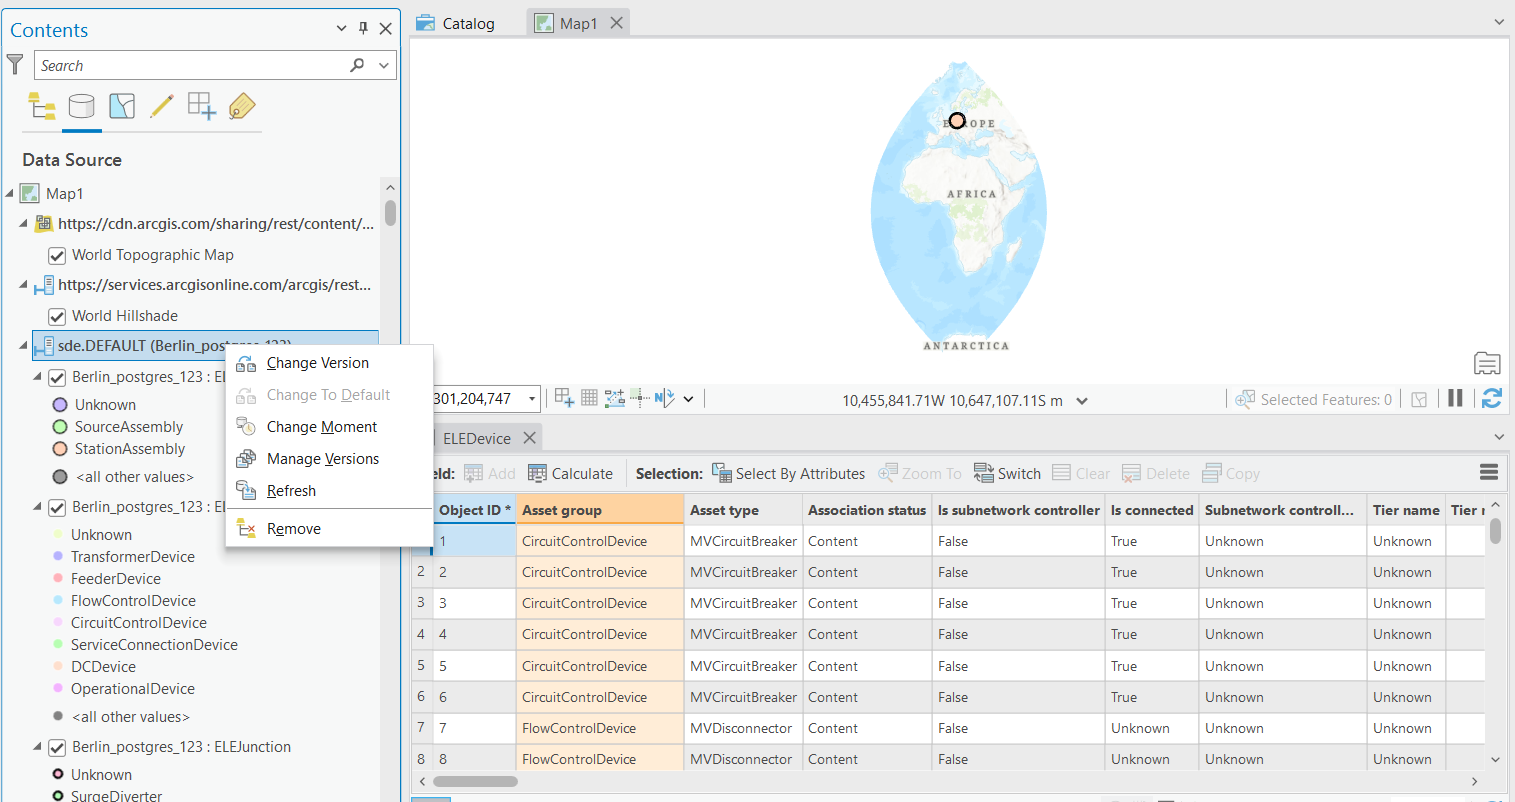
9.The available versions are displayed in the Attribute Table.
10. Right click anywhere in the Attribute Table and click on the New option.
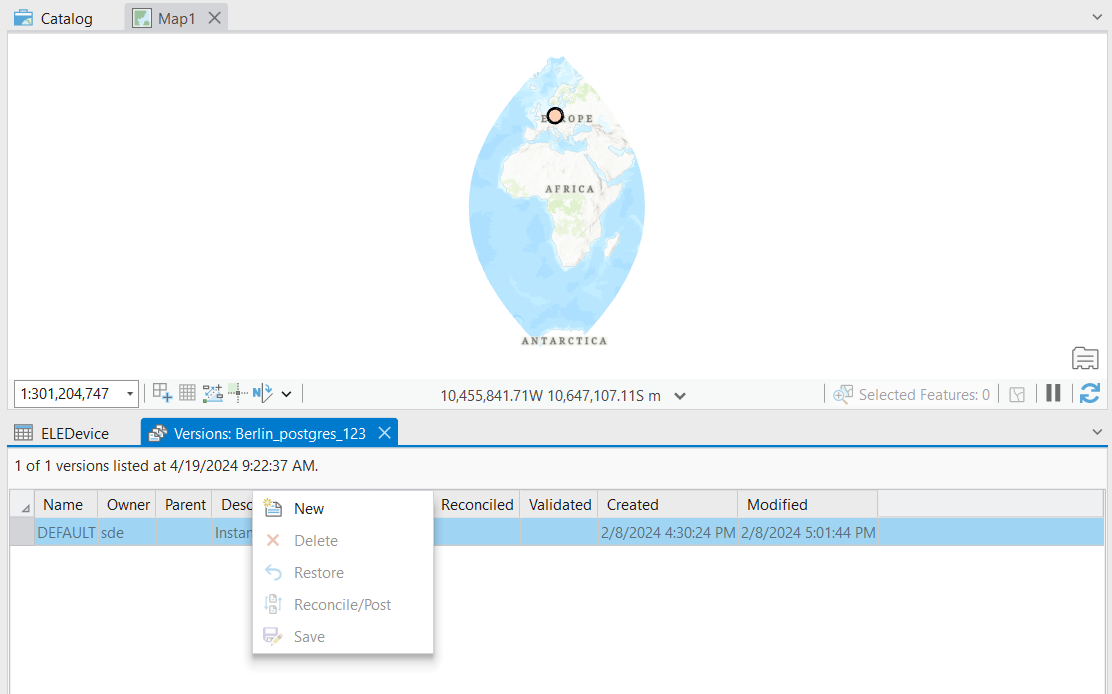
11. A new version row is displayed in the version table.
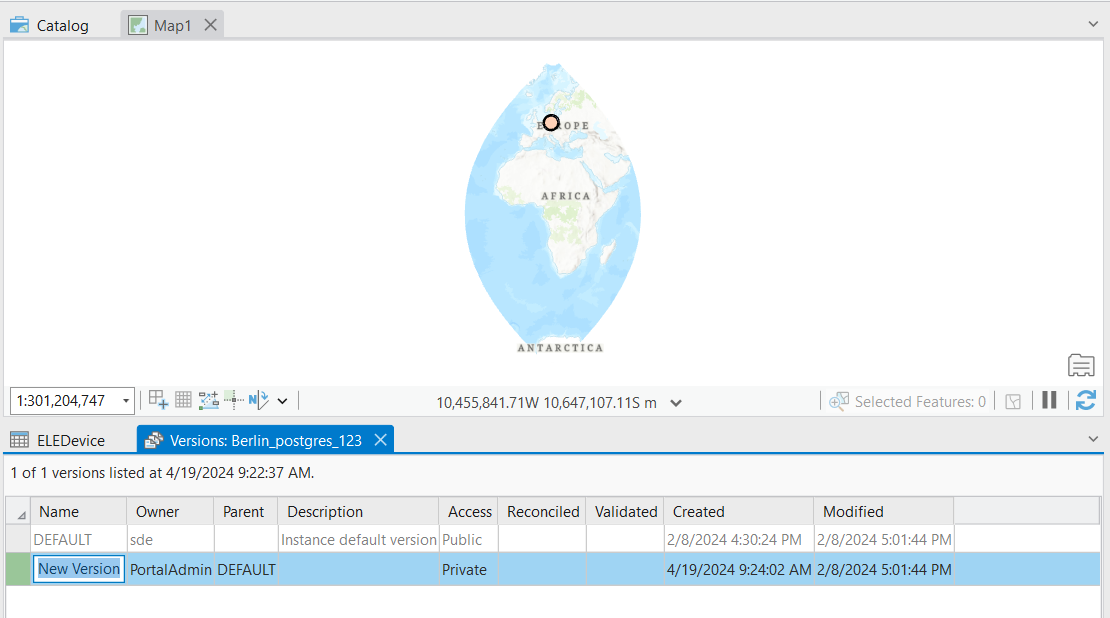
12. Double click inside the Name cell to enter a name of your choice. PortalAdmin.versionname (in our case, PortalAdmin.testversion) will be the version name queried at a further step in ArcGIS Enterprise.

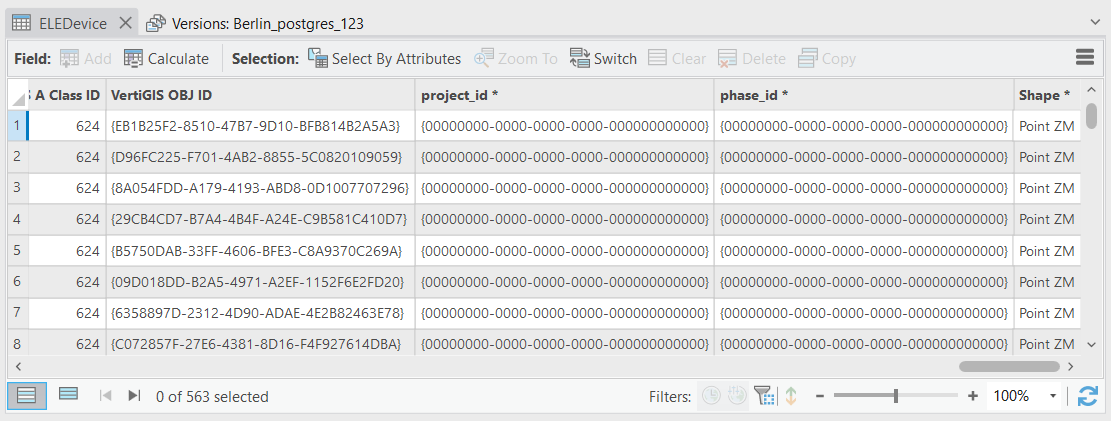
13. In the Attribute Table, you can see the VertiGIS OBJ IDs queried via the VertiGIS Integrator.
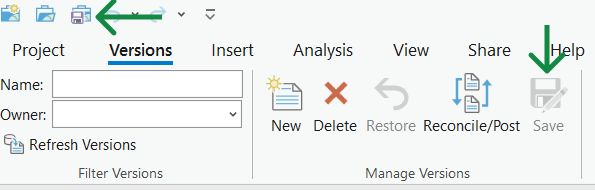
14. Click the Save button up in the ribbon (next to Reconcile/Post) to save your changes, then do not forget to save the entire project by clicking on the 3rd button in the left upper corner.