This topic outlines how to manually add, edit, and delete individual floors in VertiGIS FM. You can alternatively import your own internal record of floors into the VertiGIS FM database using a CSV or XML file. This option is ideal for adding, editing, or deleting large quantities of floors simultaneously (for example, to establish an initial record of your floors in the VertiGIS FM database).
Add a Floor
Floors are added on the building details page or the construction stage details page, depending on whether you've added construction stages to the building hierarchy.
To Add a Floor
1.On the building details or construction stage details page, expand the Floors section and click the Add (![]() ) icon.
) icon.
2.In the Floor form, enter a number for the floor in the Number text box and enter a name for the floor in the Name text box. Only the Name field is mandatory.
3.Expand the Areal Balance tab and add values for the construction stage's surface areas.
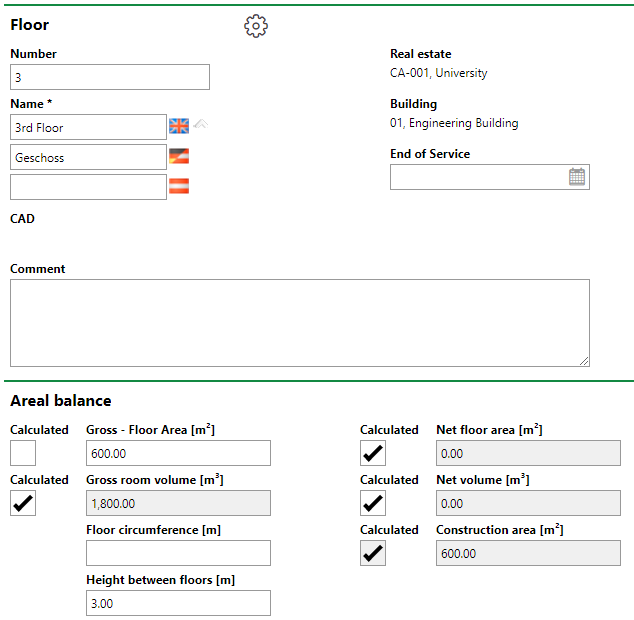
4.If you have a floor drawing, expand the CAD Options tab and upload it.
5.Click Save and Close.
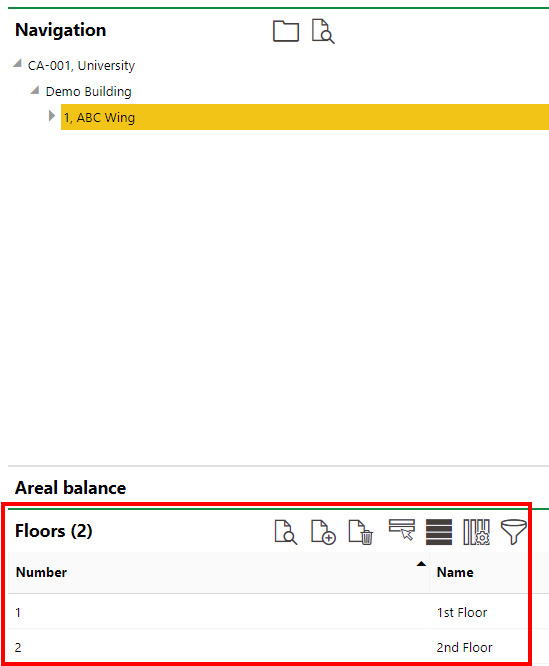
The new floor is shown in the Floors section.
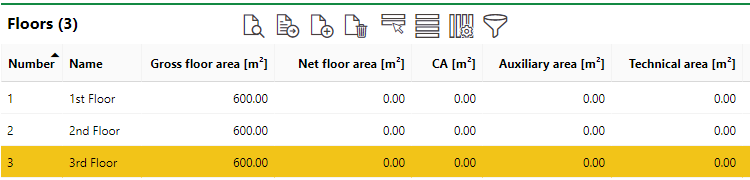
New Floor Shown in the Floors Section on the Building Details or Construction Stage Details Page
Move a Floor to a New Construction Stage
If you've already added floors directly to a building and want to revise the building's hierarchy to include construction stages, you can move floors to a new construction stage without having to delete them. This is done on the building details page for a floor you want to have beneath the new construction stage.
To Move a Floor to a New Construction Stage
1.Navigate to the building details page that contains the floors you want to add to the new construction stage.
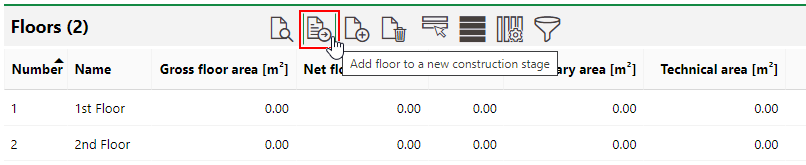
2.In the Floors section, click the Add floor to a new construction stage (![]() ) icon. You do not need to select any floors.
) icon. You do not need to select any floors.
3.Enter a name for the new construction stage and, optionally, any other relevant information.
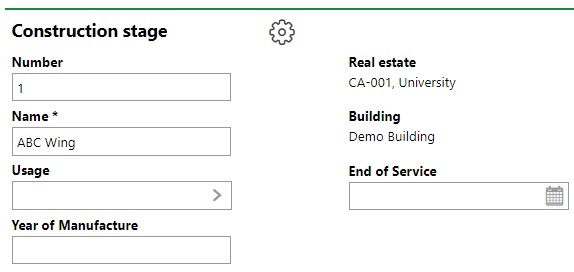
4.Click Save and Close.
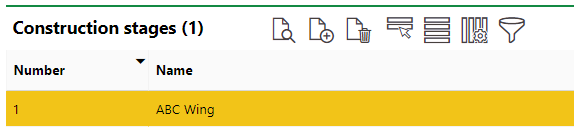
On the construction stage details page that loads, the floors that were previously shown on the building details page are now shown in the Floors section.
If you navigate back to the building details page, the new construction stage that now contains the pre-existing floors is shown in the Construction Stages section.
Copy a Floor
If you need to create a new floor that shares many or all of the same properties as an existing floor (for example, the same surface area and height measurements), you can use the copy floor functionality.
To Copy a Floor
1.On the building details or construction details page, expand the floors section and double-click the existing floor you want to use as a template for the new floor.
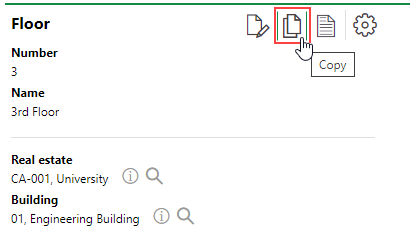
2.Click the Copy (![]() ) icon on the floor details page.
) icon on the floor details page.
3.Amend the details for the new floor as required. All details are inherited from the floor you double-clicked in step 1.
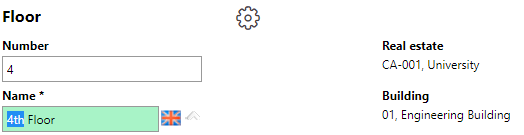
4.Click Save and Close.
Edit a Floor
Existing floors are edited on the building details page or construction stage details page.
To Edit a Floor
1.On the building details page, expand the Floors section and double-click the floor you want to edit.
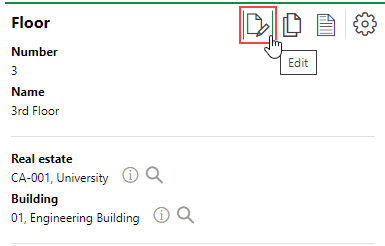
2.On the floor details page, click the Edit (![]() ) icon.
) icon.
3.Edit the floor details as required.
4.Click Save and Close.
Delete a Floor
Floors can be deleted on the building details page of construction stage details page for the building or construction stage that contains the floor.
To Delete a Floor
1.On the building details page, expand the Floors section and select the floor you want to delete.
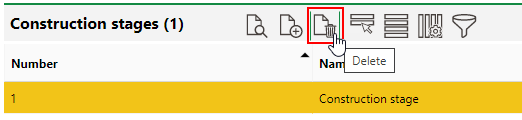
2.Click the Delete (![]() ) icon.
) icon.
3.Click OK.