A dashboard object is an information item like a list, chart, template, shortcut, or map that appears on a dashboard.
This topic outlines how to add, edit, and delete dashboard objects on a custom dashboard.
Add a Dashboard Object
You can add a dashboard object on the dashboard customization page.
To Add a Dashboard Object
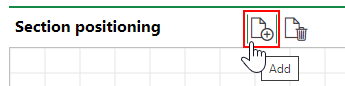
1.In the Section Positioning section, click the Add (![]() ) icon.
) icon.
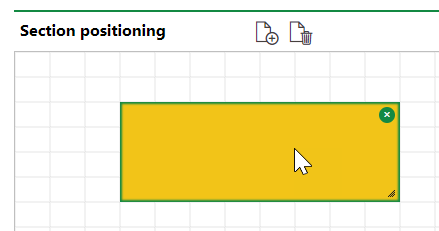
2.Using your mouse, place the new dashboard object in its desired location on the grid. Its location and dimensions on the grid reflect how it will appear on the dashboard. Move an object to a different location by clicking on it and dragging it, or resize an object by clicking on one of its edges and dragging it.
3.With the object selected, use the Section Settings menus to the right of the dashboard customization grid to specify the data you want to appear in the object when it is displayed on the dashboard. Refer to Manage Dashboard Object Data for more information.
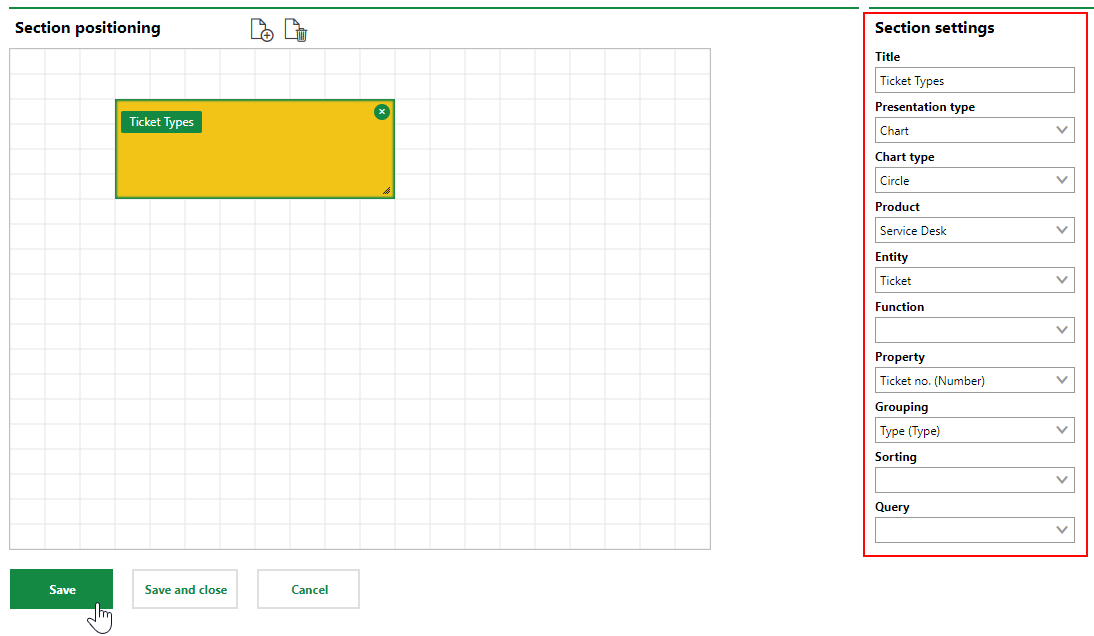
4.Click Save or Save and Close.
Navigate to the dashboard to see how the new object appears on the dashboard.
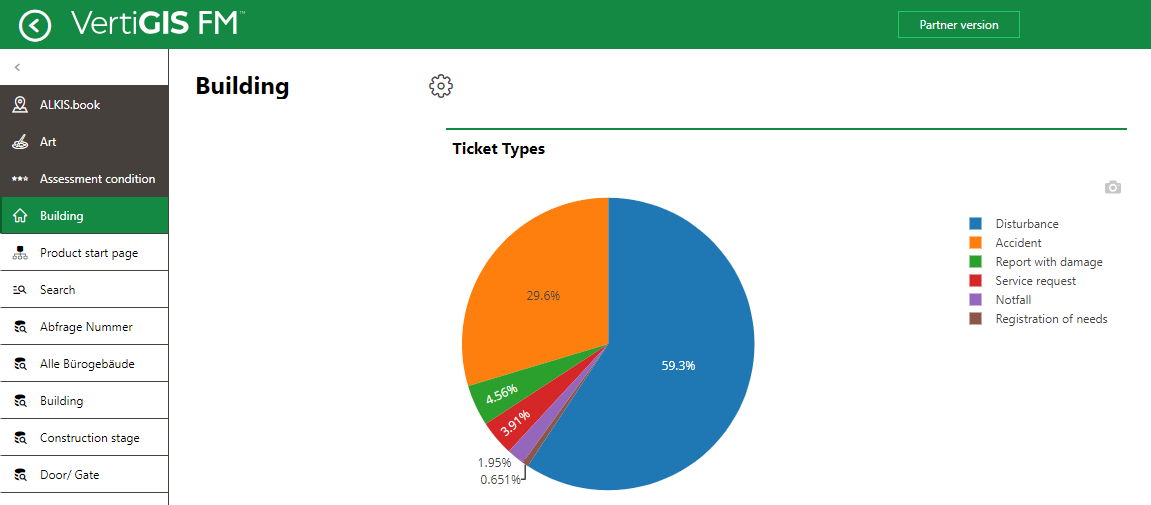
New Object Added to Dashboard
Edit a Dashboard Object
You can resize a dashboard object by clicking on its perimeter and dragging it, and move a dashboard object by clicking on the inside of the dashboard object and dragging it. You do not need to click any button or icon before resizing or re-arranging the dashboard object on the grid.
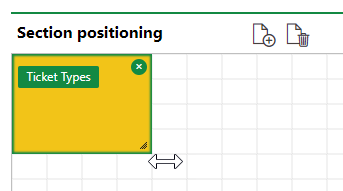
Resizing a Dashboard Object
When a dashboard object on the grid is selected, you can adjust the selections in the Section Settings menus to change the data reflected in the dashboard object. Refer to Dashboard Object Data for more information.
Click Save or Save and Close when you have finished editing a dashboard object.
Delete a Dashboard Object
You can delete an object from your dashboard by selecting it in the Section Positioning grid and clicking the "x" button in the top-right corner.
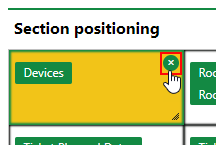
Deleting a Dashboard Option
After you click Save or Save and Close, users will no longer see the object on the dashboard.